The simplicity and ease of using purchased molds is always enticing. But it wars with the rebel/creative person in me who wants her work to look completely unique and not like anybody else’s.
The wonderful thing about clay is that you can still shape it even after pressing it into a mold!
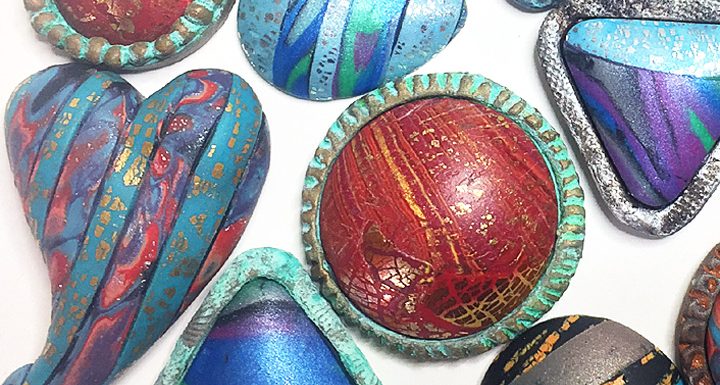
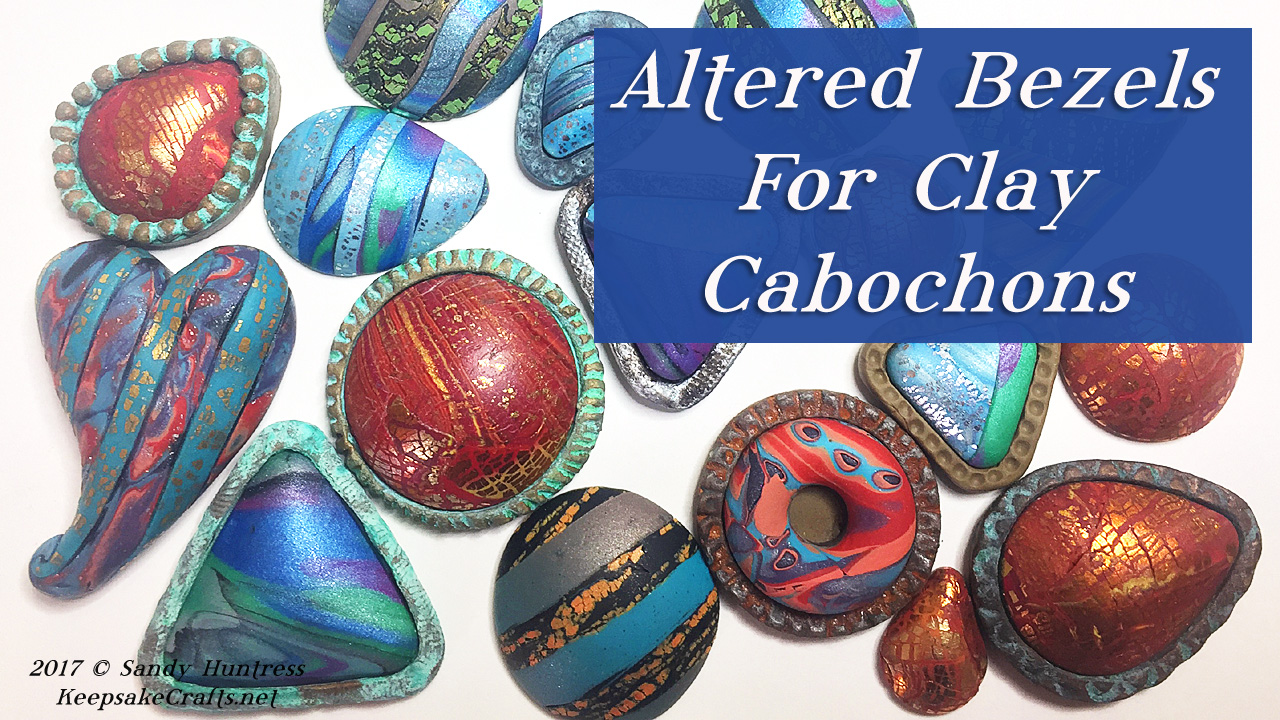
We can use this to our advantage while creating bezels that perfectly fit our molded cabochons, but then customizing them with various tools after removing them from the molds.
One thing I forgot to mention in the video is that I like to use my clay blade after adding the texture to straighten up the edges of the bezel.
Just hold your blade perpendicular to the work surface and gently press it along the edges to straighten them. (I did this at one point in the video, but didn’t really explain how to do it after adding your textures.)
Another way of customizing your bezels would be to bake them in the molds, keeping their perfect shape, and then add decoration such as the beaded border I showed, and bake again. I may explore these possibilities in another video.
Tools & Materials:
- Sculpey cabochon mold
- Sculpey bezel mold
- scrap polymer clay
- clay blade
- acrylic roller
- Christi Friesen tools: Can’t Live Without It, Wow It’s Awesome
- needle tool
- awl
- dotting tools
- leather stamping tools
- scalloped round cutters
- acrylic block
- 6-sided marking tool
- Swellegant paints & patinas or acrylic paints
Enjoy the video and happy creating!
Watch the Altered Bezels for Polymer Clay Cabochons Tutorial video at YouTube.


Now that’s great! I’d love to see any of those in a finished piece.
Yeah, me, too! Lol I have SO many pieces with potential, just not the time to make them all into something finished.