Last December I made a video for you all showing how to make polymer clay cell phone holders. If you haven’t made them yet you should know that they were and are a big hit. My husband, sons and I all still use ours. They’re just a really great design with a small footprint and easy to use.
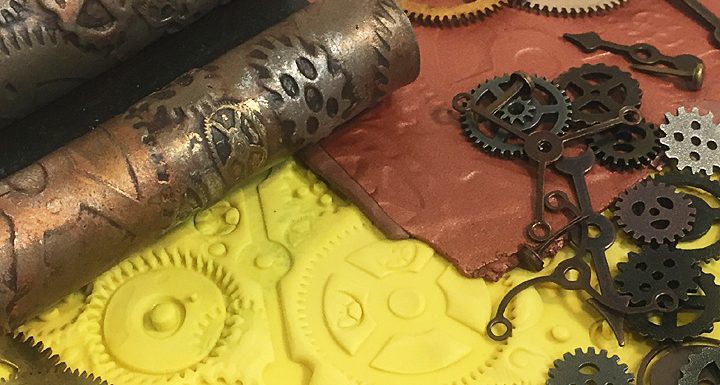
At the time I made a steampunk texture sheet to texture my husband’s. Several of you have asked me to show you how I made the texture sheet, and that’s what this video is all about.
You may need to experiment with the thickness of clay that you use in your pasta machine to get the best impression. One thing I’ve found that I can’t quite figure out is that the shapes tend to elongate and stretch as they run through the pasta machine, even if I keep the two pieces separate right before they hit the rollers I still end up with oval-shaped gears. Just gently stretching the clay in the opposite direction will round them back out again.
I love making my own texture sheets because I know that this makes my projects completely unique. Of course, you don’t have to just use gears and make steampunk texture. Try using all manner of household objects. How about paperclips? Or nuts and bolts? Impressions from cutlery such as forks, knives and spoons? I’ve even seen some really cool texture sheets made using pasta!
So I hope you have fun, take this idea and run with it and make it your own.
Tools and Materials:
- Tim Holtz steampunk gears
- Steampunk gear assortment
- Pasta machine or acrylic roller
- Molding putty
Enjoy the video and happy creating!
Watch the DIY Steampunk Texture Sheet for Polymer Clay Tutorial-Friday Findings video at YouTube.


Oh, you’re right. I can see that roller being used on paper clay as well.
Oh, most definitely!