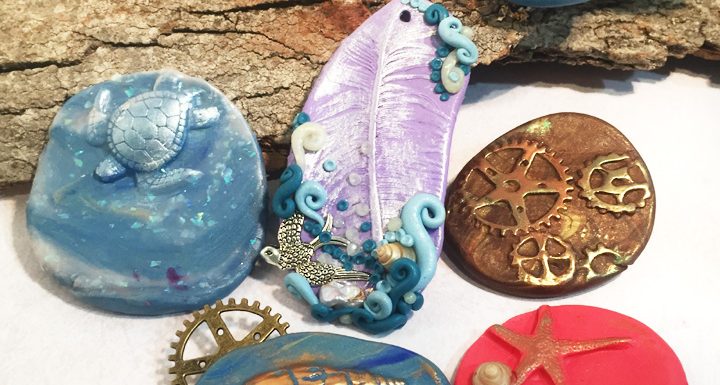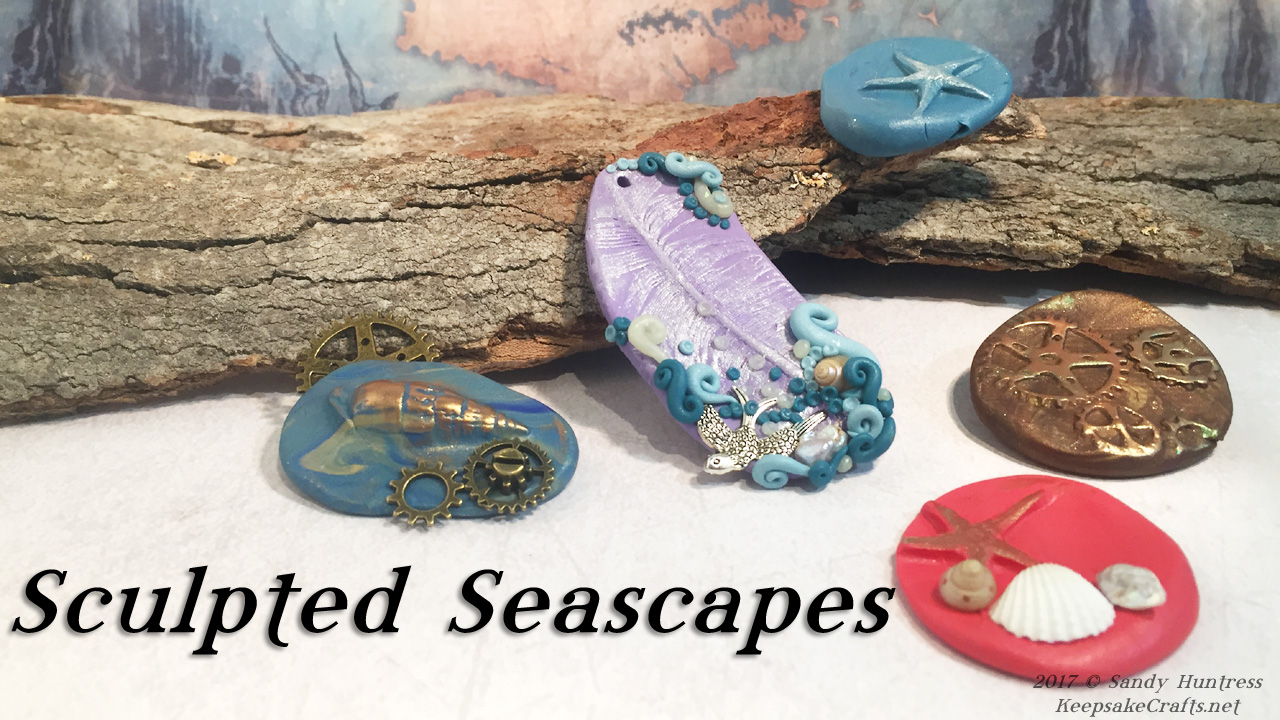
Today’s project is the result of combining several different ideas I’ve come across in the polymer clay world. Christie Friesen in her book Flourish showed the idea for using silicone putty molds in a variety of ways, including making partial impressions on clay shapes. I’ve seen several projects around the inter-webs using metal charms and bits of clay to make a little wearable scenes. And of course I’m sure you’ve all seen lots of projects incorporating spirals and scrolls and swirls.
I call my project “Sculpted Seascapes,” since they all seem to have a beachy theme, but you could make yours any style you like. Creating the base goes fairly quickly, but adding all of the details can take a while. I find it to be a relaxing, meditative process. Don’t forget to stand back on occasion and take a look at the piece as a whole. It’s easy to get lost in all those little details!
Although you can pop out the metal charms and other mixed media used in your piece after baking and glue them, I prefer to arrange bits of clay around them so that they are trapped in there once the clay is hardened by baking. It’s a much more secure bond than trusting in glue, which at times can be unreliable.
If you incorporate things that you found perhaps on a nature walk or vacation, you’ll have a special, wearable momento of that time.
Tools and Materials:
- Two-part silicone molding putty
- Acrylic block for stamping, optional but helpful
- Polymer clay in main color for your pendant and accent colors
- Charms, shells, feathers, gears, beads or other items to make molds
- Charms, shells, feathers, beads, gears or other items to incorporate into your scene
- Mica powders, such as Perfect Pearls
- Clay blade and sculpting tools as needed
Enjoy the video and happy creating!
Watch the Sculpted Seascapes-Polymer Clay & Mixed Media Tutorial at YouTube.


Those would make sweet necklaces. I can also see them as scarf or lapel pins. (Am I showing my age? :O)
I think pins are coming back, so, no!