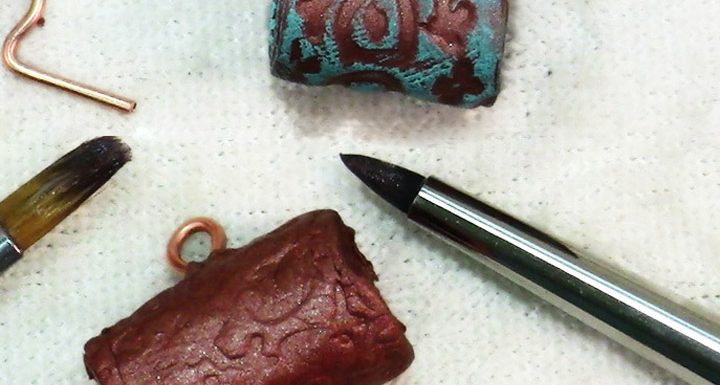
Although shopping for and using unique jewelry findings is a lot of fun, it’s even more satisfying if we can create them ourselves. This is one reason why I’ve really been wanting to get into metal clay, as I think it’s the perfect fusion between creating in polymer clay and having quality precious metal jewelry.
However, since that is cost prohibitive at the moment we can content ourselves with making our findings out of polymer clay. It’s a great way to make perfectly matched findings for your polymer clay jewelry and makes each piece even that much more unique.
In today’s video I will show you how to make simple tube bail. Interestingly, a couple hours after I shot this video I watched a video from a Patricia Roberts-Thompson, who has a relatively new YouTube channel, showing how to make polymer clay end caps. Her process is very similar to mine. The only difference between the end caps and the tube bails is that the bails need to have a wire loop inserted and the end caps need to have one end capped, naturally.
I show a simple way of texturing a bail, but don’t forget that you could also make smooth bails and then add swirls, dots, flowers or whatever else you like and then do one more baking. This would make the bail more of a focal piece than an accent, but with the right pendant it might be just what it needs.
Tools and Materials:
- Polymer clay in colors of your choice
- Dowel or other round form with the same diameter that you want your bail to have
- Scrap of paper and a bit of tape
- 1 inch piece of 20 or 18 gauge wire
- Round nose pliers
- Flat nose pliers
- Pasta machine or acrylic roller
- Clay blade
- Texture sheet, if desired
- Sculpting shaper tool
- Mica powders, Gilders paste or other surface treatments as desired
Enjoy the video and happy creating!
Watch the DIY Tube Bails Out Of Polymer Clay – Friday Findings Jewelry Tutorial at YouTube.


These are beautiful! How did I miss this? >:\