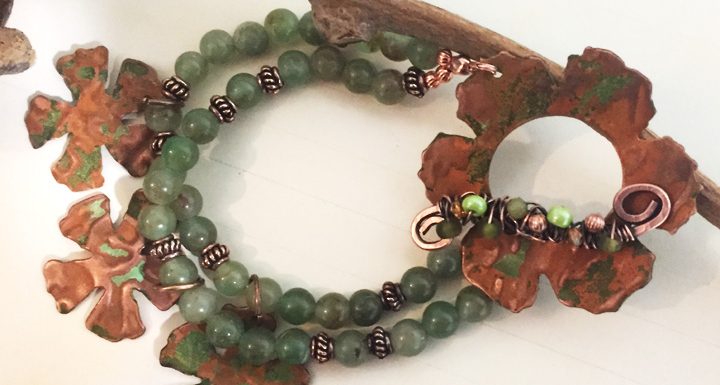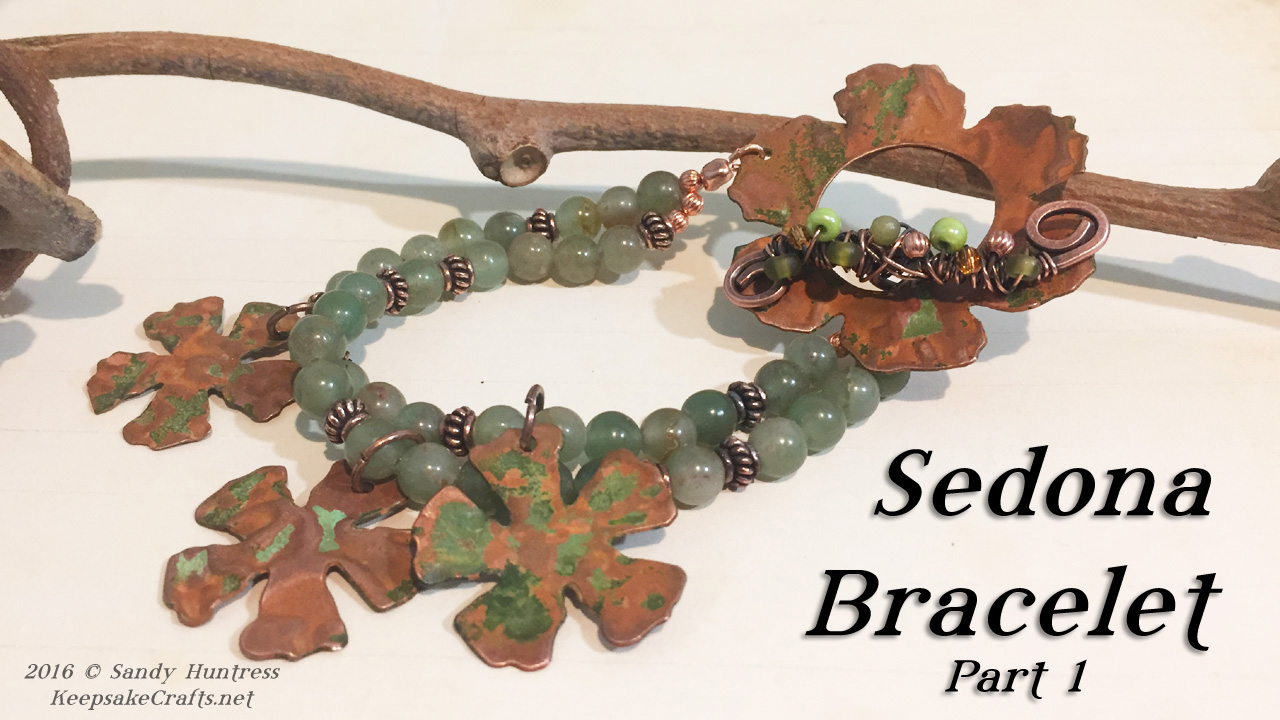
This week’s jewelry project is one that I have had in mind for quite a long time, but I wasn’t sure if it would work the way I thought it would.
I have cut the occasional piece of metal with my die cutting machine, but just wasn’t sure if the Big Kick would be up to the pressure (pun intended!) or if it plain wouldn’t work.
The embossing folders worked out far better than expected. I had pictured the plastic pieces losing to the metal and me ending up with ruined embossing folders, but the embossed metal actually came out quite nice.
The class that I mention in the video is Micro Torch Basics by Kate Richbourg. It’s free and definitely worth watching!
The materials list is rather long this week, but they are all basic jewelry making supplies and you will be able to use them on many other things for years to come.
Tools and Materials:
- 24 gauge copper sheet metal
- Steel rule dies such as these by Sizzix (I used the Tattered Flowers and Sewing Room)
- Butane torch
- Charcoal block or fire brick
- Sharpie marker
- Cross lock tweezers
- Safety glasses
- Die cutting/embossing machine
- Embossing folders
- Metal shears
- Metal files
- Penny bright copper polish
- Screw punch
- Steel wool
- Curved form such as a bracelet mandrel
- Nylon hammer
- Swellegant patina
- Liver of sulfur
- Pro polish pads
- Bead stringing wire
- Beads
- Wire protectors
- Crimps
- Crimp covers
- Crimping pliers
- Wire cutters
- Jump rings
If you need more detail on some of the techniques mentioned, these videos will be helpful:
Enjoy the video and happy creating!
Watch the Sedona Bracelet Jewelry Video Tutorial – Part 1 at YouTube.


Another favorite! That’s beautiful–so Pueblo. Very nicely done.
That would have been a good name, too, “Pueblo Bracelet.”