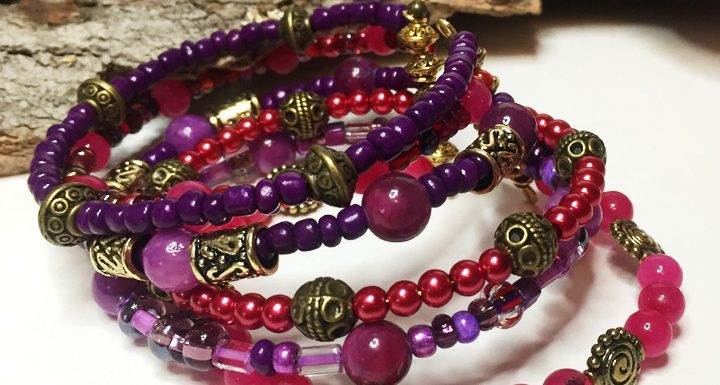
Here’s yet another way to use memory wire. I love how this design looks like a stack of bangles, but is so easy to wear and take on & off.
When I was first figuring out how to put this bracelet together I thought I had a very clever idea for using memory wire bead ends to make a neat finish (rather than just loops) on the wire that all the memory wire loops go through.
I glued a memory wire bead end onto each of the two pieces of 20 gauge wire, let the glue cure and them proceeded with adding the memory wire loops and spacers. Then I trimmed the wire, added a dab of epoxy and the other memory wire bead end…
… and wondered how on earth to hold that little tiny bead in place while the glue finished curing!
Short of sitting there for an hour holding it with my fingers, of course. :-/
And so, I went back to just making a loop on both ends of those pieces of wire. If you have any ideas, I’d love to hear them, as that really would be a much nicer finish.
Tools & Materials:
- bracelet memory wire
- 40-50 inches of beads & spacers in colors of your choice
- 10 6mm spacer beads
- 4 3mm spacer beads
- 2 2.5-inch pieces 18 or 20 gauge wire
- round nose pliers
- memory wire cutters
Enjoy the video and happy creating!
Watch the Summer Berries Bracelet-Jewelry Tutorial at YouTube.


You know I love your bracelets! That one looks good enough to eat. 😀
Hence, the name. 🙂