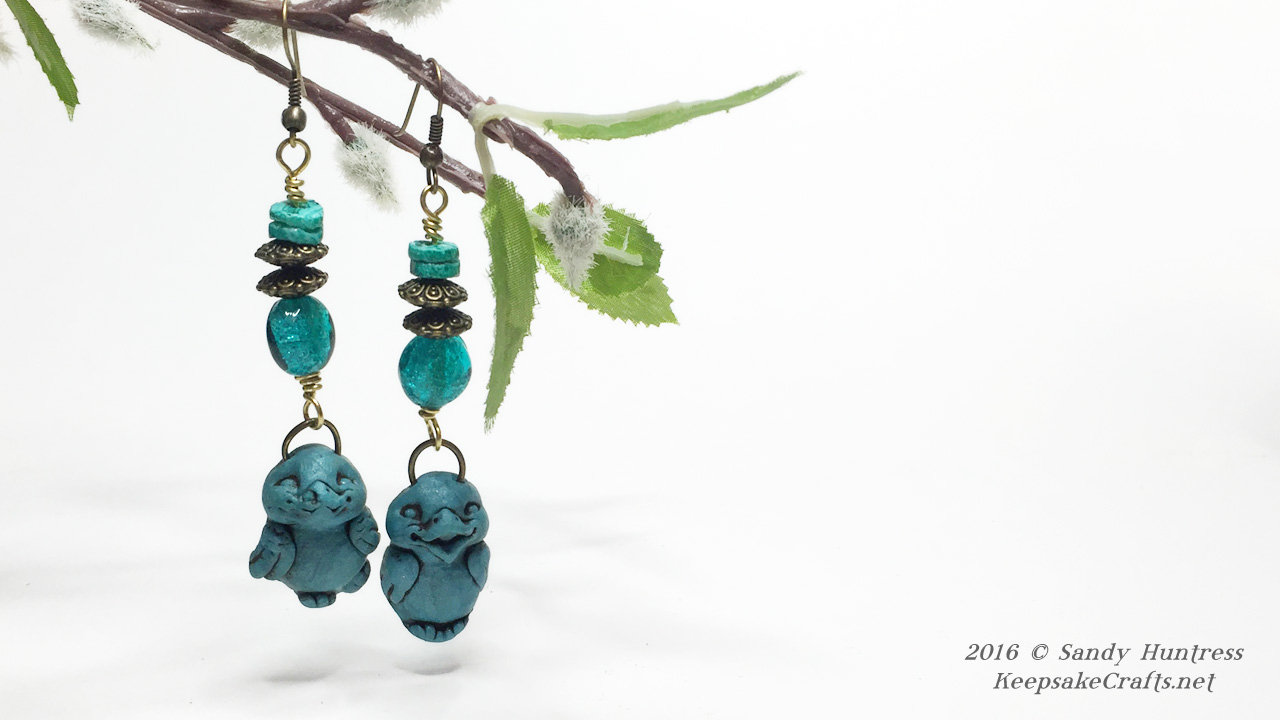
In today’s video I show you how to use a push mold to make a pair of earrings that look like far more work than they actually are.
Push molds may have started out as toys for children, but nowadays there are a lot of really gorgeous designs to be found.
The push mold that I used has long since been discontinued (it was made in 1997) but I did find a couple on eBay if you want the exact same one. (It’s called “Birds” by Judi Maddigan and was made by Amaco.) Otherwise you will find a lot of really nice push molds on Amazon.
The top two on this list are ones I show in the video, plus a few more that you might like.
- Sculpey Flexible Push Clay Mold, Sea Life
- Sculpey Flexible Push Clay Mold, Flowers and Leaves
- Sculpey Flexible Push Mold, Art Doll Faces
- Flexible Push Mold: Asian Motif
- AMACO Designer Push Molds, Victorian
- Polymer Clay Kitty Cat Push Mold
Don’t be afraid to further manipulate your little sculpture after molding. You can stretch it, pull it, change features, add features, add texture and do all sorts of other things to make it entirely your own.
Materials:
- polymer clay, I used a mix of Sculpey Souffle Sea Glass
and Premo! Sculpey Pearl
- 2 jump rings
- 4 8mm saucer beads
- 4 6mm shell beads
- 2 12mm crackled glass coin beads
- 2 6-inch pieces 20-gauge craft wire
- 2 ear wires
Tools:
- silicone push mold
- Armor All
- Chain Nose Pliers
- Round Nose Pliers
- Flush Cutter
Enjoy the video and happy creating!
Watch the Springtime Birdies Earrings-Polymer Clay Video Tutorial over at YouTube.


Hahahaha! Aren’t those sweet!
Well, *I* think so. 😀
I love working with clay. These are so cute. 🙂
Thank you, Nancy. Happy creating!