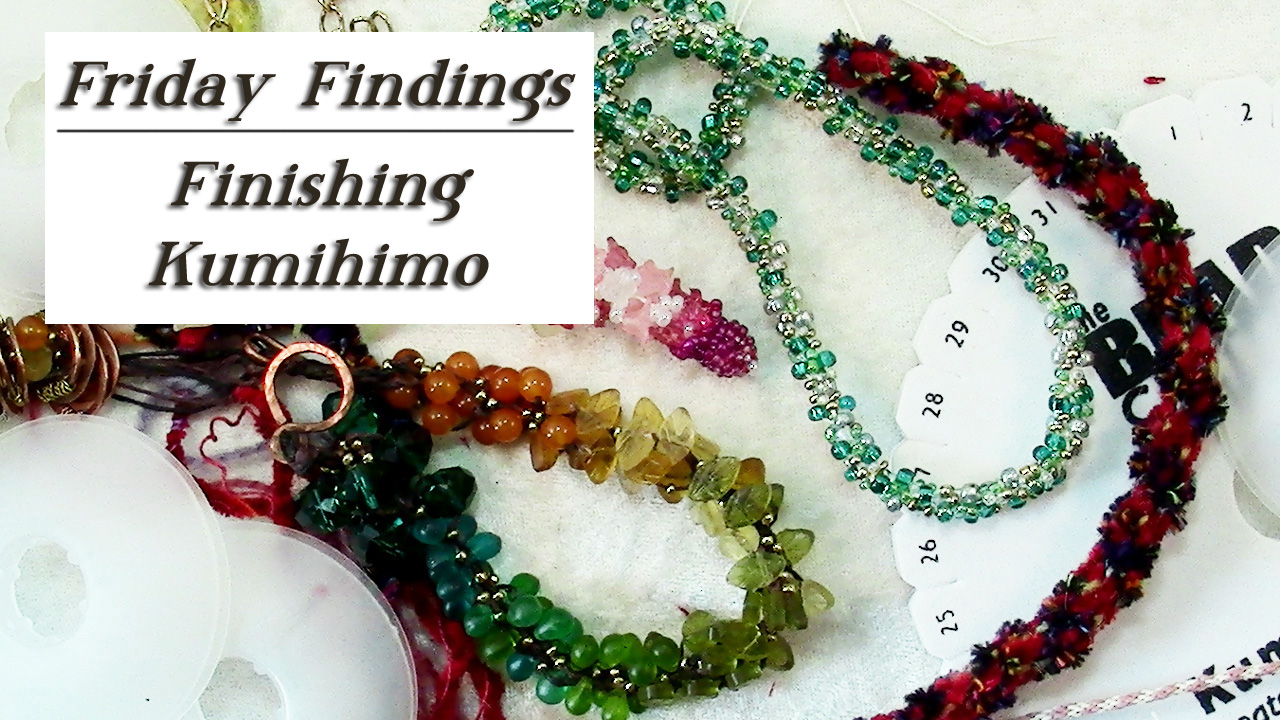
In two previous videos I showed you how to do a simple kumihimo braid, as well as how to add beads to your braid. I hope you’ve enjoyed the tutorials and maybe even given the technique a try!
In today’s video I show you how I finish this braid and make it into a bracelet. You would use the same techniques to finish most any of your kumihimo pieces.
This website, Lytha Studios, has an awesome tool called the KumiPlanner for helping you plan the colors and patterns of your braid. It’s so much fun to play with, be sure to check it out!
These two books were very helpful when I was first learning this ancient craft:
;
I’d love it if you shared photos of your projects based on this tutorial at my Facebook page in the “Your Creations” album.
You can watch the Friday Findings-Finishing Kumihimo video over at YouTube.


So cool! The possible variations seem endless, but I do like the beaded versions best.
Oh me, too! I just got some shaped beads in my FMG order to make a dragon scale effect. Can’t wait to try it.