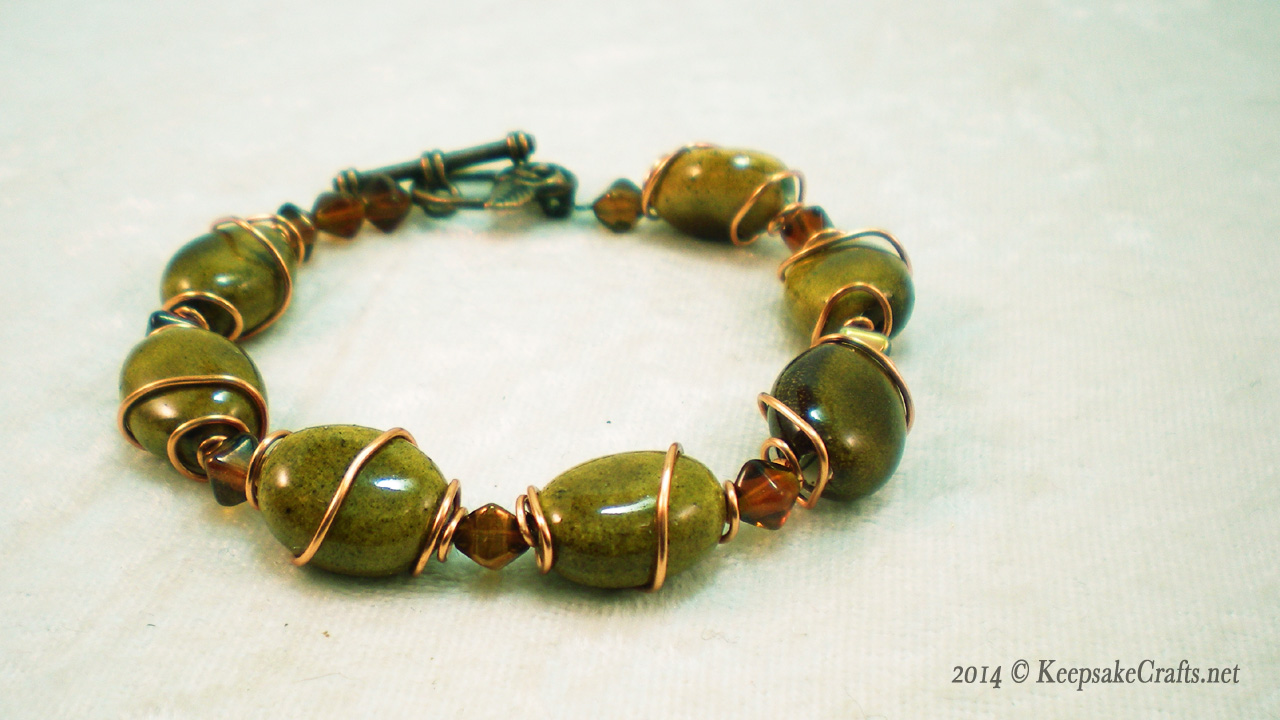
I’m always amazed at how much a little bit of wire wrapping can dress up beads and jewelry. The ceramic beads in this bracelet were just kinda “meh” by themselves, but look quite nice wrapped in little wire cages.
In this project you’ll learn how easy it is to make caged beads. These can be used for any kind of project where you use beads: earrings, necklaces or home dec. Also, if you want more wraps around the beads, just cut your wire a bit longer to begin with.
Enjoy the video and happy creating!
You can watch the Caged in Copper Bead Bracelet Video Tutorial over at YouTube.
Materials:
- 7 – 10mm x 15mm oval beads
- 10 – 6mm bicone beads
- 28 inches 20 gauge dead soft wire, cut into 4-inch pieces
- toggle clasp
- 2 crimp beads
- 10 inches bead stringing wire
Tools:
- round nose pliers
- chain nose pliers
- wire cutters
- Use chain nose pliers to make a loop in the end of a 4-inch piece of wire. Continue looping wire loosely around making a spiral until 2-inches of wire remains.
- Make a loop on other end of wire and make a spiral as in step one. This spiral should face in the opposite direction so when the spirals meet in the center you have an “S” shape.
- Use pliers to gently pull out both spirals into a cone shape. Fold entire unit in half to make a wire cage.
- Slide a bead into cage, lining up loops with ends of bead holes. Use your fingers to shape cage to bead.
- Repeat to make a cage for each of the seven beads.
- Slide a crimp bead onto 10-inch bead stringing wire. Slide wire through round part of toggle clasp and back through clasp. Flatten crimp with chain nose pliers. Trim excess wire with wire cutters.
- Slide on a 6mm bicone and a caged bead, making sure wire goes through loops of 20 gauge wire, then through the bead and back out through other loop of 20 gauge wire.
- Repeat step 7 to add all caged beads to bracelet. Slide on last three bicones, a crimp and bar of toggle clasp. Slide bead stringing wire back through crimp, flatten with chain nose pliers and trim excess wire.


Yeah, the green and the copper look beautiful together. Is it fall yet? 😀
It certainly isn’t fall around here. It’s felt more like summer the past two days than it has in a month.