I’ve been asked to teach jewelry making classes at my local Joanne’s and decided to start with the basics.
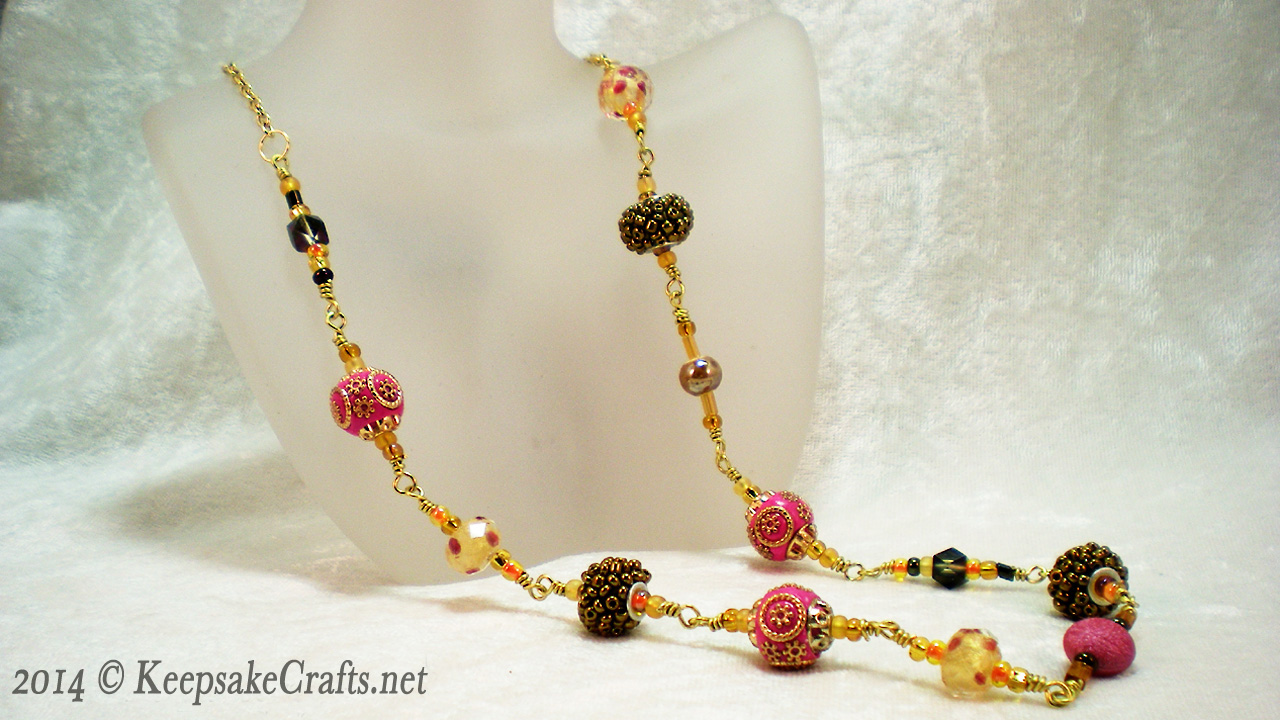
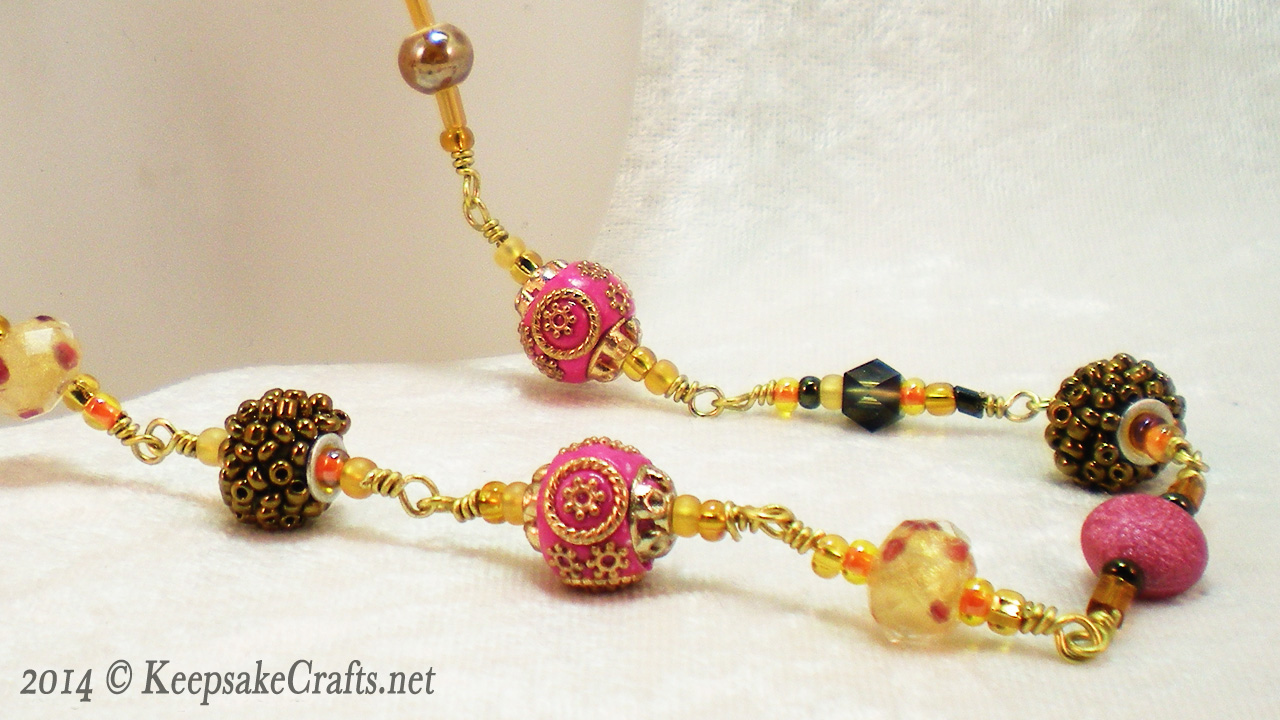
Our first project is all about wire wrapping. With 13 links (that’s 26 wraps) you’ll be a wrapped loop expert by the time you’re done. 🙂
A well-formed wrapped loop is actually a nice design element. One thing I love about this style is that you can add any amount of chain around the back & make it exactly the length you want.
I’ll have a video for the matching earrings up in a few days.
Watch Wire Wrapping 101 – Bead Necklace Video Tutorial over at YouTube.
Happy creating!
Materials:
For necklace:
- 7” strand 10mm-15mm assorted beads of your choice (16-18 beads)
- an assortment of large seed beads to coordinate with 7” strand
- 20 or 22 gauge craft wire in color of your choice
- chain to match craft wire
- lobster clasp to match craft wire
- 6mm or 7mm jump rings to match craft wire
Tools:
- chain nose pliers
- round nose pliers
- wire cutters (flush cut are best)
- bead design board
- tape measure
To make necklace:
- Open assorted bead strand onto bead design board. If desired, choose 2 matching pairs of beads to use in earrings. Set aside. (Earring video to come later.)
- Open one strand of large seed bead into a compartment in bead design board.
- Use wire cutters to cut an approximately 8-inch piece of craft wire.
- Make a wrapped loop:
- Use chain nose pliers to grasp wire 1 1/2 inches from one end.
- Bend wire at 90° angle.
- Grasp bend with round nose pliers and wrap wire around pliers as far as possible to start to make a loop.
- Reposition pliers to finish loop.
- Wrap remaining wire around wire below 90° bend.
- Use wire cutters to trim, if necessary.
- Use chain nose pliers to tuck in end.
- Slide on an arrangement of one of your focal beads with one or two large seed beads on either side.
- Begin (but don’t complete) second wrapped loop to make a bead link:
- Use chain nose pliers to grasp wire just at point where it exits last bead.
- Bend wire at 90° angle.
- Grasp bend with round nose pliers and wrap wire around pliers as far as possible to start to make a loop.
- Reposition pliers to finish loop.
- Repeat to make bead links with all remaining focal beads.
- Arrange bead links in an order you find pleasing.
- Connect all bead links together by:
- Slightly open unwrapped loop and slip on wrapped loop of link next to it.
- Wrap remaining wire around wire below 90° bend.
- Use wire cutters to trim excess wire.
- Use chain nose pliers to tuck in end of wire.
- Use a tape measure to measure your neckline and determine desired length of necklace.
- Measure length of completed bead links and subtract from desired necklace length.
- Cut a piece of chain this length and cut into two equal pieces.
- Use jump rings to attach a length of chain to each end of bead links.
- Attach a jump ring to one end of chain, and use a jump ring to attach a lobster clasp to other end of chain.


Ha! I love your annotations in the video. Did you intend for it to be unlisted? Anyway, that’s a beautiful necklace. You do such lovely work–hope the snow doesn’t impede your classes at Joanne’s.
Thanks, Robin. Glad you like it. So far the storms have been timed to not interfere with any of my classes. 🙂
The post was a scheduled one, and for contractual reasons the video had to wait until today to go up. So, yes, I did intend for it to be unlisted, but I was supposed to remember to make it public today.
Where can i download you video
Hi there,
You can’t download the video, but you can click on the link below the photos to watch it on YouTube.
Happy Creating!