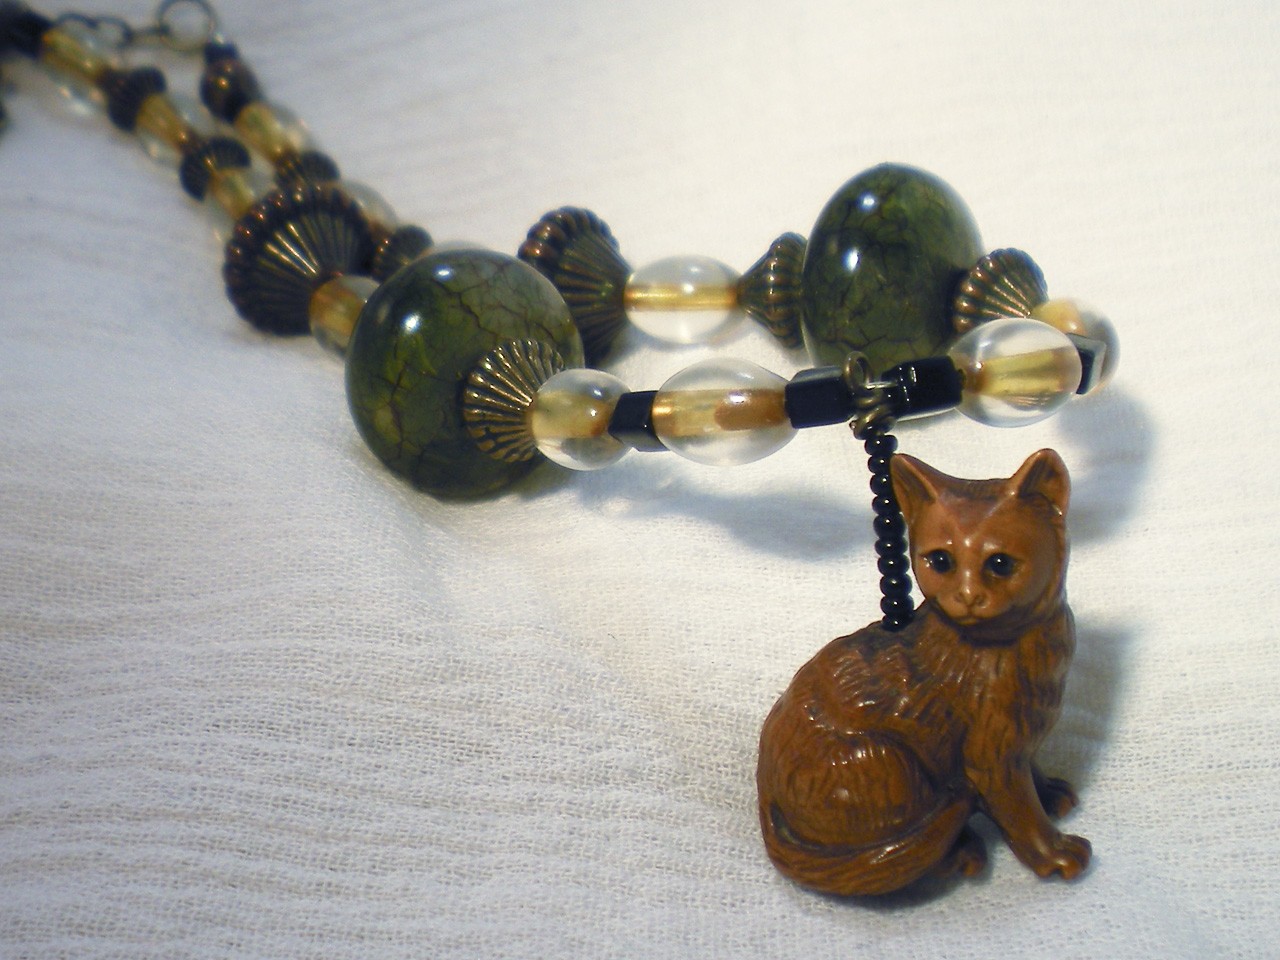
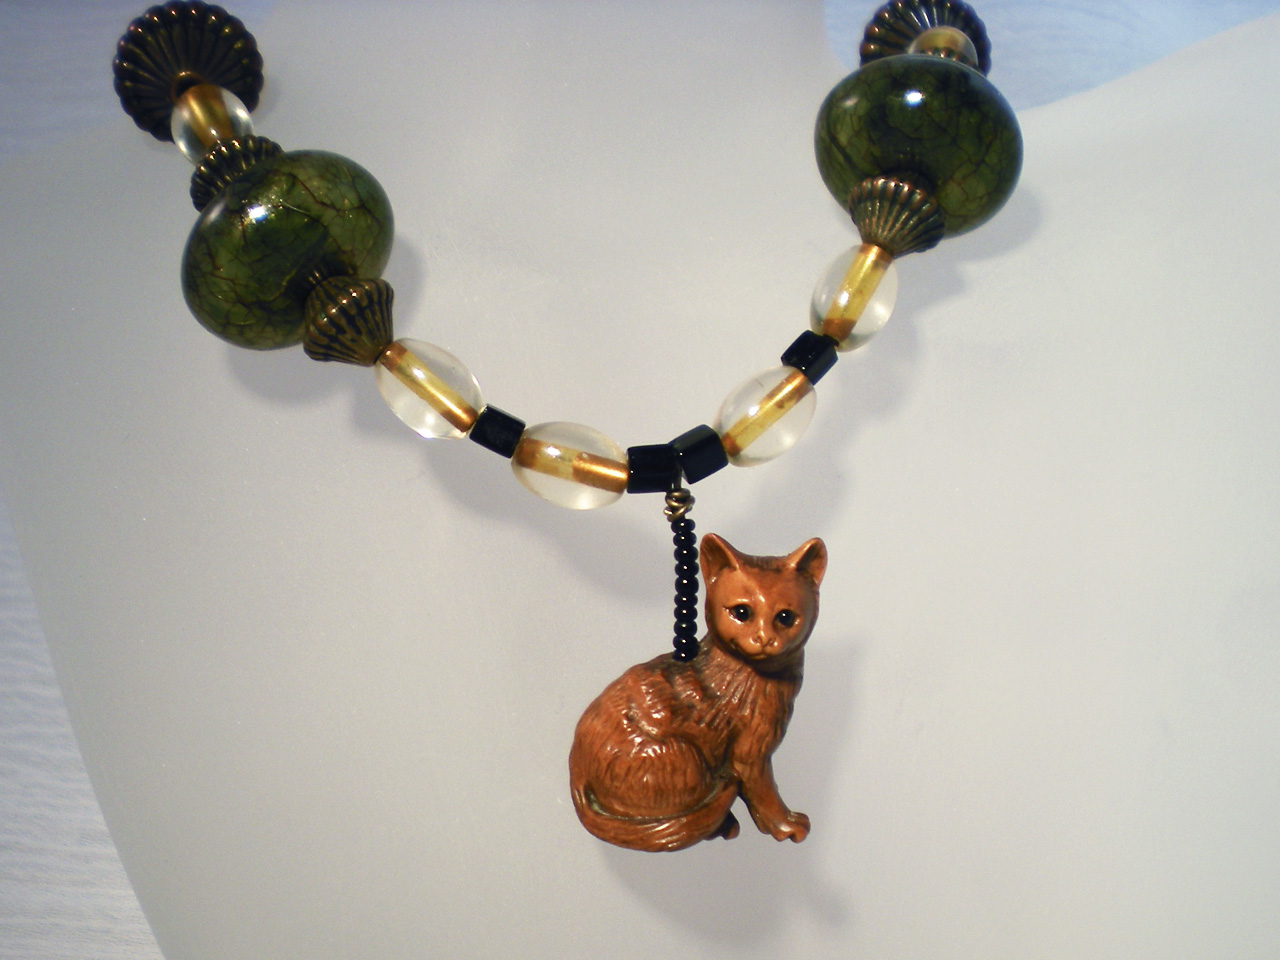
This wooden cat bead was given to me by a friend quite some time ago. I immediately made it into a necklace, but then didn’t wear it very often.
If you have jewelry you know you ought to like, but never feel like wearing, perhaps it’s time for a makeover.
Although the cat is wired up much better than before, I’m still not sure about the beads I chose for this necklace. It may have to undergo yet another redo. Are those green beads too big? Are the yellow ones too yellow? Should I go with more wooden beads and natural colors to compliment the cat?
Ideas? Thoughts for improvements? Anyone?
Enjoy the video and happy creating!
Materials:
- carved wooden bead for pendant
- one head pin
- several seed beads (if needed for head pin)
- 10 inches of beads to complement wooden pendant
- 14 inches bead stringing wire
- two crimp beads
- two 6-inch pieces of chain
- four split rings
- lobster clasp
- round nose pliers
- chain nose pliers
- wire cutters
- split ring pliers
- crimping pliers
Instructions:
- Slide wooden pendant onto head pin. Add seed beads if necessary to fill in space. Grasp head pin with chain nose pliers just above last bead and bend head pin at a 90-degree angle. Grasp bend with round nose pliers and wrap wire around pliers as far as possible to start to make a loop. Reposition pliers to finish loop. Keep round nose pliers in loop and wrap remaining wire several times around wire above last bead. Trim off excess wire and use chain nose pliers to tuck end in. File wire end smooth if necessary.
- Use split ring pliers to attach a split ring to each end of both pieces of chain. Attach a lobster clasp to one split ring.
- Slide a crimp bead onto bead stringing wire; slide on one split ring and slide wire back through crimp bead. Use crimping pliers to secure crimp beads.
- String on half of beads in desired pattern; slide on wooden bead pendant. String remaining beads, a crimp bead, and split ring from other piece of chain. Slide stringing wire back through crimp bead; pull snugly and crimp securely with crimping pliers. (Don’t pull too tightly against last beads strung or your necklace will be stiff and won’t hang nicely.)


Oh my, he’s so cute! I think he’s charming enough to hang on a chain all by himself. However, I love the green/gold/black combination you have there. So, I would make two necklaces: one with the cat and one with the beads. Is my suggestion.
Yeah, I’m kind of ready to throw all those other beads back into the bead stash and start from scratch.
Thanks for the suggestion. 🙂