Hi all! Sorry I haven’t posted in the last couple of days. I spent all day yesterday organizing my attic. Phew! My attic is a walk-up – picture a giant closet the size of the footprint of our house. It’s nice to have all the easily accessible storage, but there’s the ever present danger of accumulating Too. Much. Stuff.
Anyhow, it’s done and looking as beautiful as an attic can get. I’ve made lists of stuff to give away and lists of stuff to sell, listed a bunch of stuff on Craigslist, sent out emails, and now I finally have time to show you this project I picked up from Renaissance Leather this week.
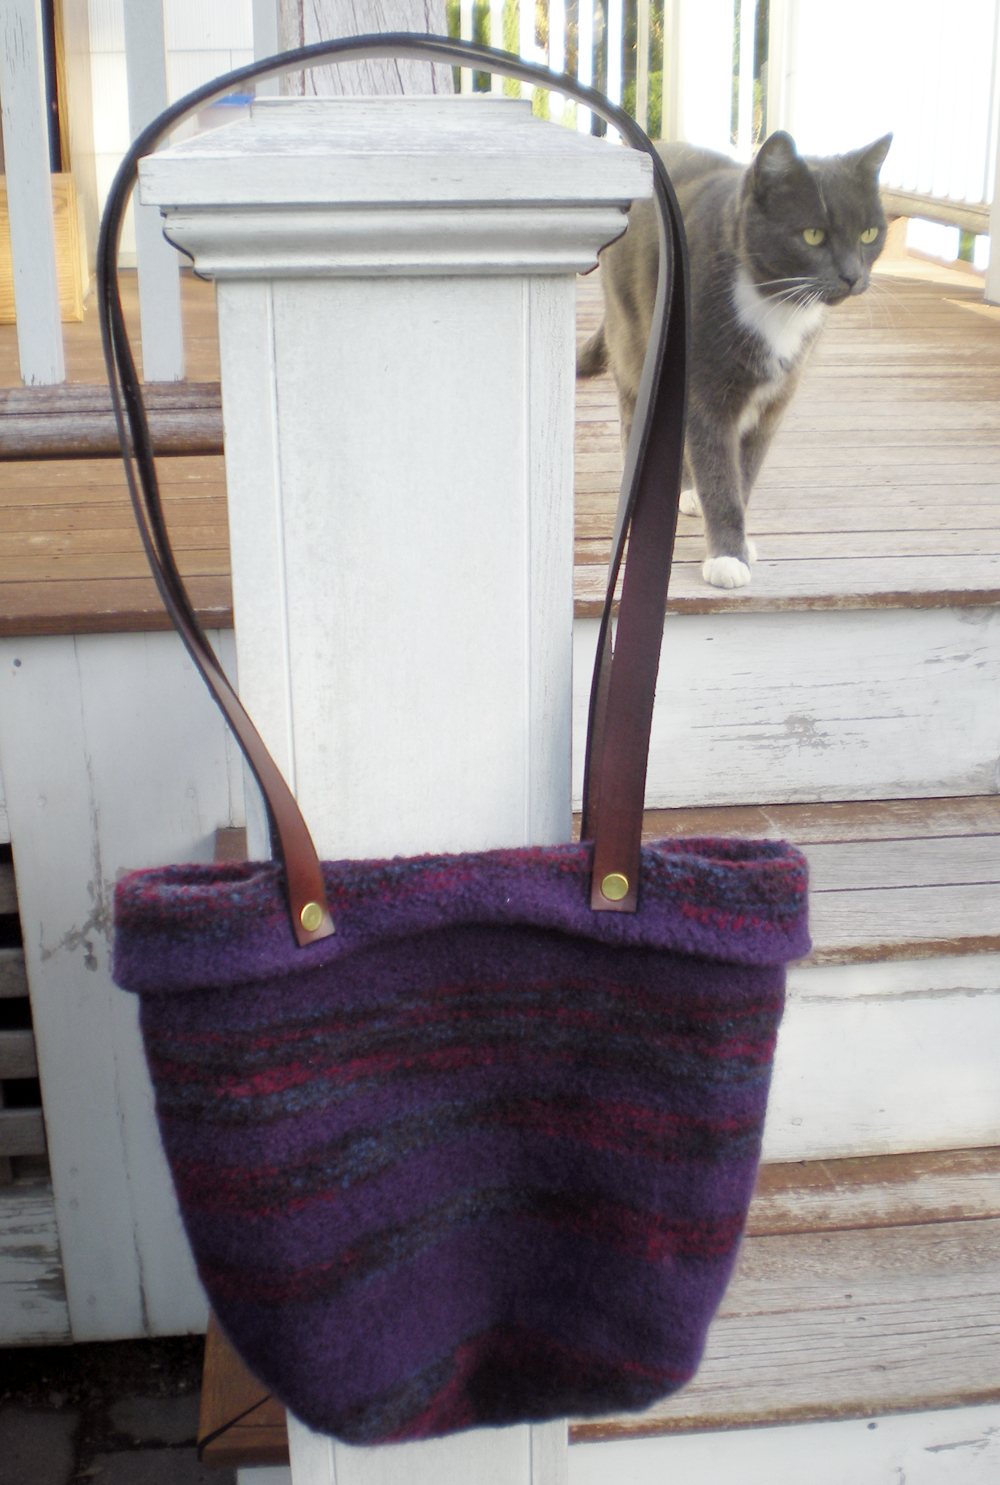
That’s my cat, Oliver, helping with the photography.
I’m not much of a knitter, but I think I’m going to love this felted tote bag. The handles may look long in proportion to the bag, but they’re a perfect comfortable length for carrying on the shoulder. I like the leather handles a lot more than if I had done knitted ones.
Here’s a rough outline of how to make your own felted tote:
Buy two 100 gram skeins of a wool yarn that specifies it’s good for felting. I used Paton’s Classic Wool. One skein was a solid, Royal Purple, and the other was a variegated that had the same purple in it, Palais. Make sure it is good for felting, some wool yarns are coated so they won’t felt.
Cast on 100 stitches onto a largish pair of circular needles (I think I used 11’s.)
Stitch around and around, changing colors of yarn whenever it pleases you. (The pattern I had said to change the yarn every two rows, but that was way too much work.)
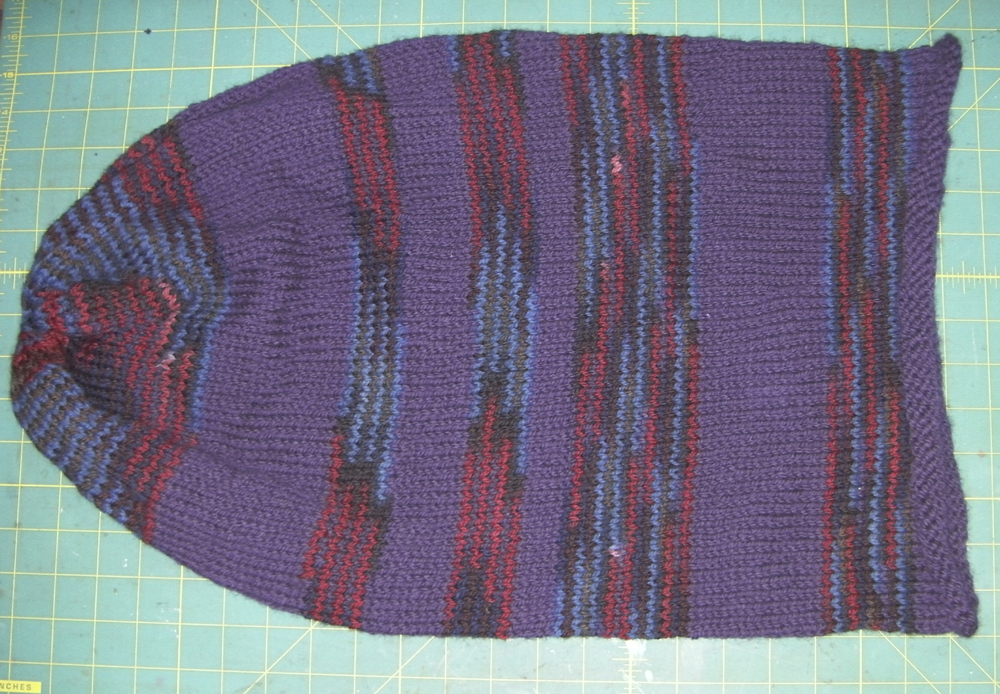
When your tote is not quite twice as long as you’d like it to be, throw in some decreases for about six rows if you feel like it. This will give your bag a tapered bottom. My bag measured 27″ long x 14″ wide before felting, and felted down to 14″ long x 11.5″ wide.
The pattern I had said once done with the decreases to cut the yarn to a 12″ length and use a tapestry needle to thread it through all the remaining stitches on the needles, sliding them off and using the yarn to pull the stitches into tight gathers. This is what it will look like. I wasn’t sure I cared for the look, but did like not having to cast off!
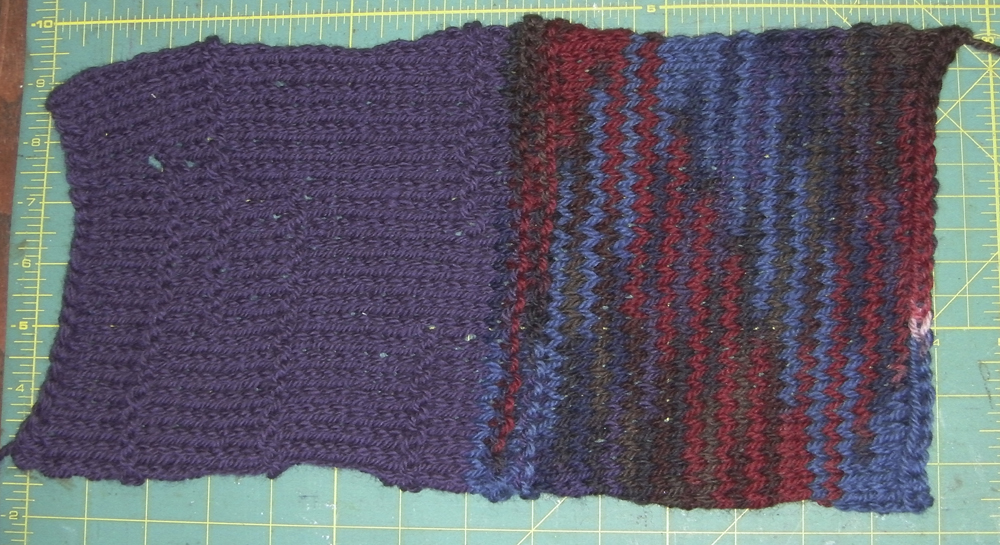
Because I couldn’t stand the thought of those extra bits of yarn hanging around, I made them into a pocket.
(See what I mean about not being much of a knitter?)
All the felting directions I’ve ever read said you need a top loading washing machine to do felting. I don’t have access to a top load machine, so I went looking online for directions how to felt by hand. Everything I saw, again, looked like WAY too much work. So I threw my bag and pocket into a lingerie bag and put in a front load machine. It worked just fine. I threw it in for two cycles and got a nice, thick felt.
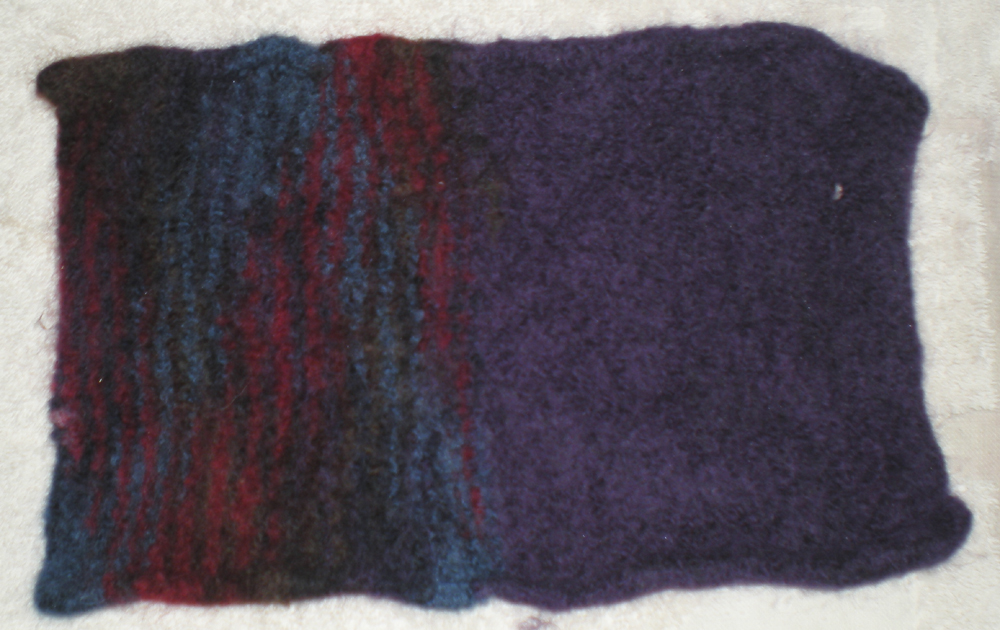
Here’s the pocket:
After taking the bag out of the wash, I decided I hated that rounded gathered bottom. Thankfully, the gathering yarn pulled right out, even after felting. Here’s the bag after I flattened out the bottom.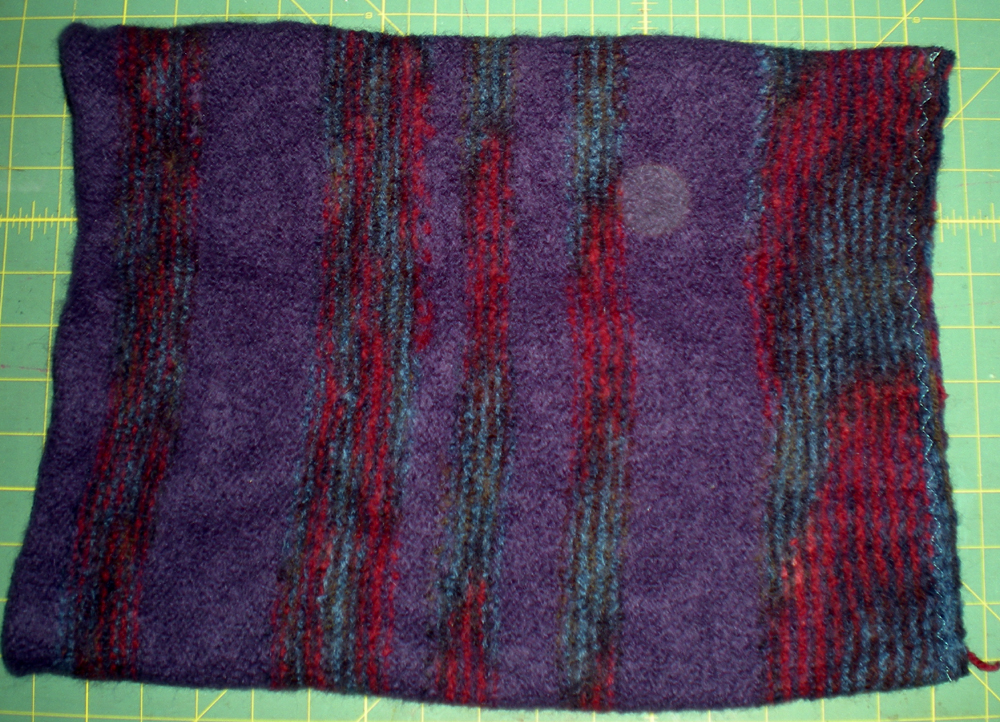
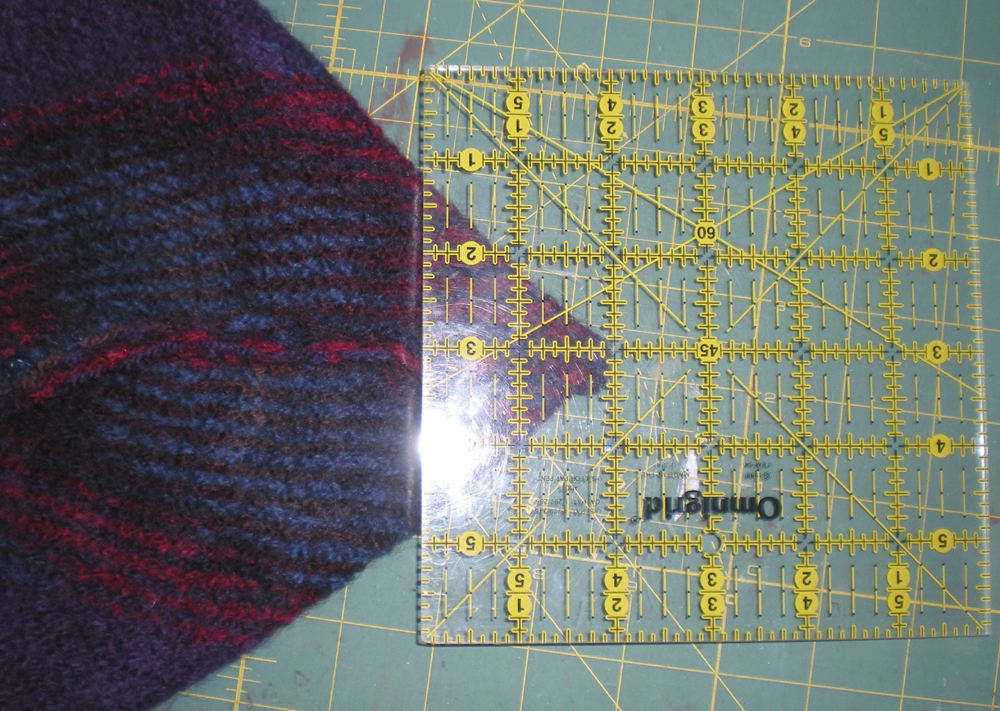
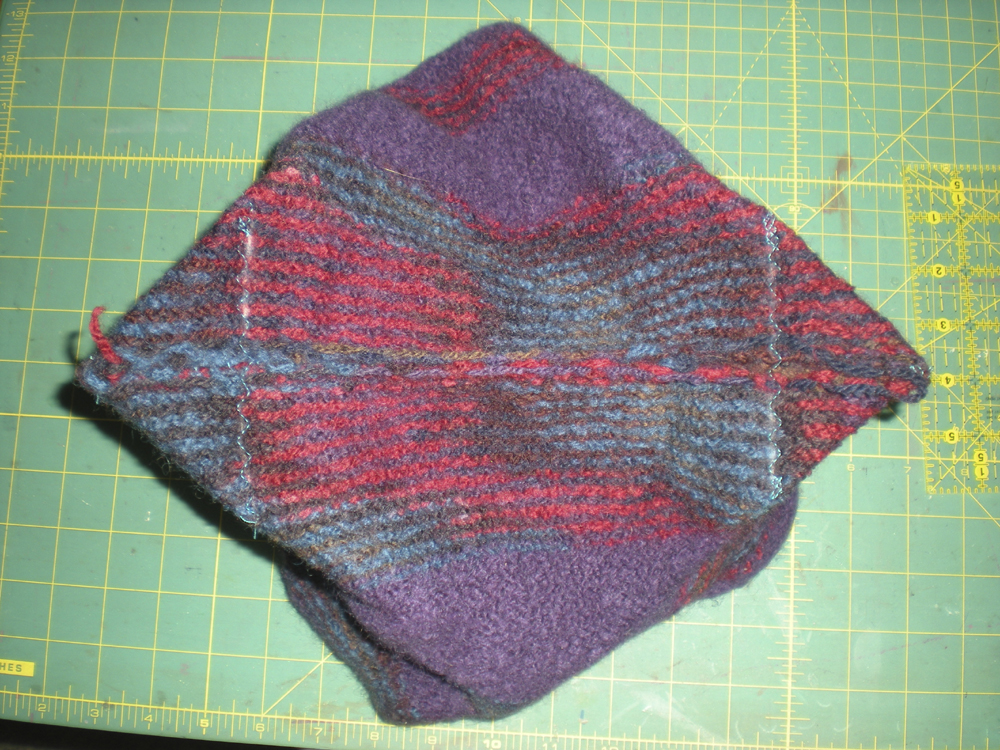
Here’s a fun trick for giving any bag a square bottom. First stitch straight across the bottom of your bag. Now meet the bottom seam to one side of your bag, forming a corner.
Mark a line perpendicular to the bottom seam. The length of this line will be how wide you bag bottom will be. Repeat on the other side and stitch on these lines.
Now your bag has a square bottom!
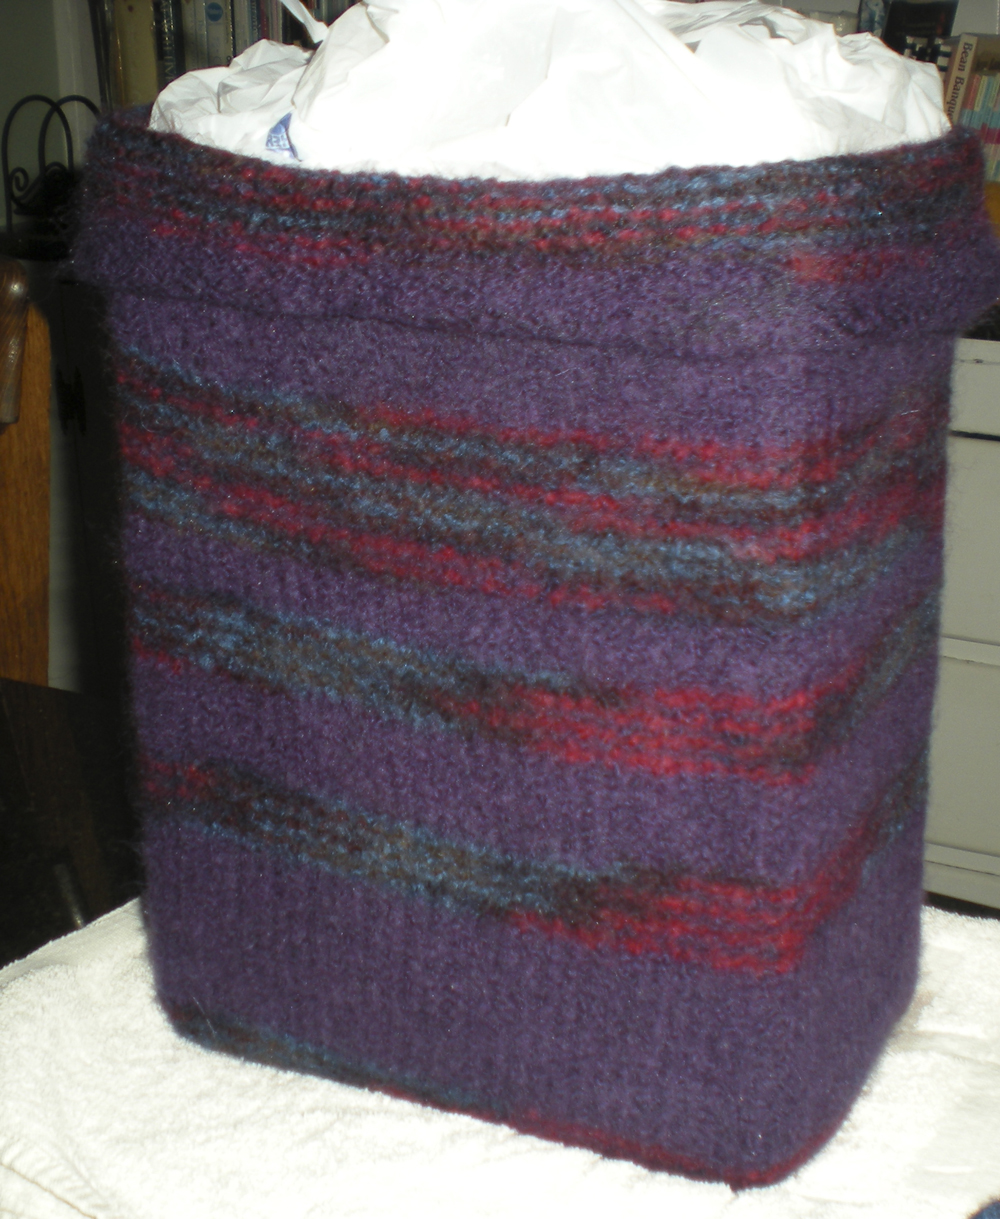
The next step is optional, but I think it gives the bag a nice finish. Find a book or other large rectangular object the same size as your bag. If need be, protect it from moisture by putting it in plastic bags. Dampen your tote bag, then insert the blocking form (the book.) Pull, pat, tug and shape your tote to just the size and shape you want. You’ll find the damp felt is quite malleable. Now let it dry completely on the form.
(This photo was taken before I decided to throw the bag into the wash for a second time, btw.)
I really, really like how the leather handles add a finishing touch, much better than knitted handles, I think.
Now if I could just find that dang pocket, I’ll use my one last piece of yarn to sew it to the inside of the bag. Probably by the time I find the pocket I’ll have lost the piece of yarn, lol.
Here’s another look at the completed bag.
Happy crafting and creating!



Sandy, that’s beautiful. Do you do EVERYTHING?
So, where are the pics of your newly organized attic?
Haha, my attic – dark, dusty and boring… but organized!
No, of course I don’t do EVERYTHING, silly. I’ve never tried tatting, and I can’t sing. I also don’t write clever and creative novels like some people I know.< 🙂
Who dat? Frankly, I’d rather be able to sew like you do. You don’t have people making nasty comments publicly about your work.
Not yet, anyhow.
The nasty comments you’ve gotten are so ridiculous they aren’t worth expending more mental energy than to delete them. The person making them has obviously got deeper problems than the stated issues with your books.
And the sewing skills are the results of years of practice and lots, and LOTS of mistakes.