Sometimes the easiest things to do are the trickiest to explain. I was asked to show how I did the simple cutwork on this dress:
…From this pattern (McCall’s 6287):
It took no time at all when I made the dress, but when I tried to break it down for you, step-by-step? That was another matter.
I suggest you find yourself a scrap of fabric and just follow along. Once you’ve done it, you’ll say, “Oh! That was easy.”
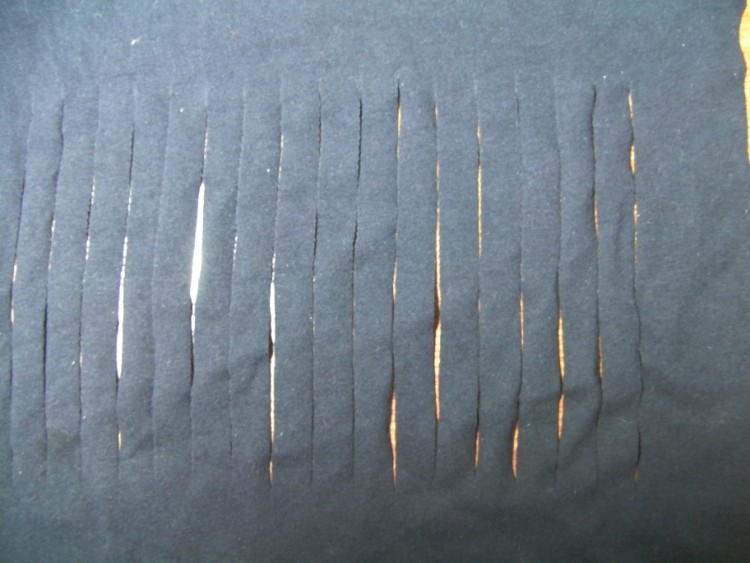
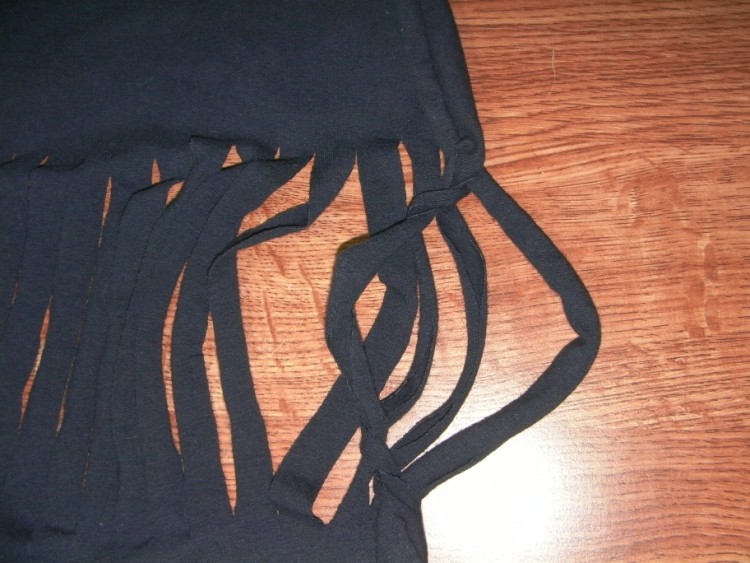
First you need to make parallel cuts in your fabric. They can be any length and anywhere from 1″ to 1/2″ apart. The pattern has them about 3/4″ apart.
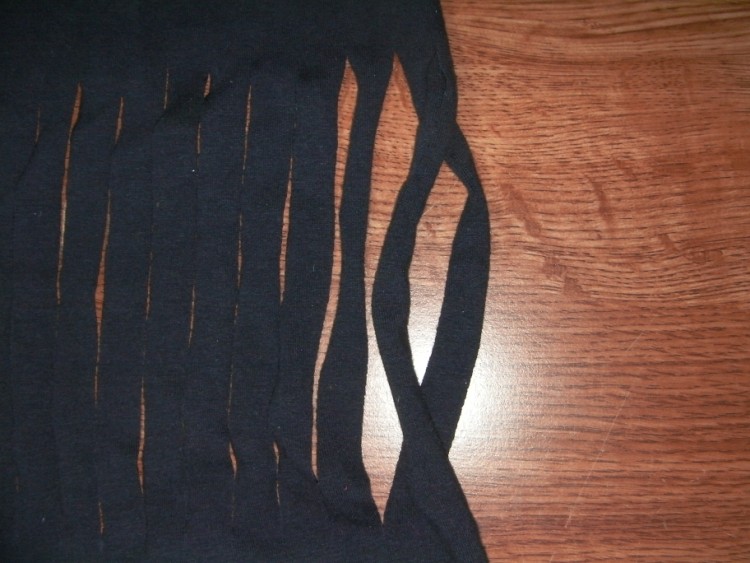
Next you take two adjacent loops and twist them around one another.
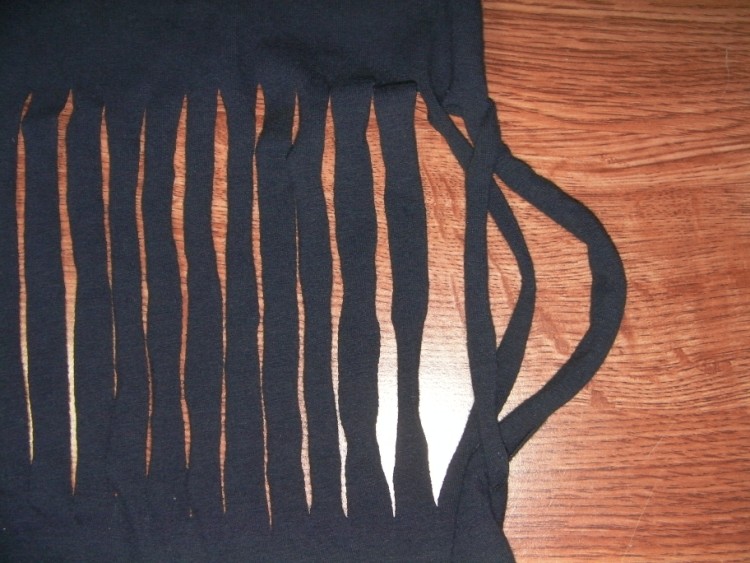
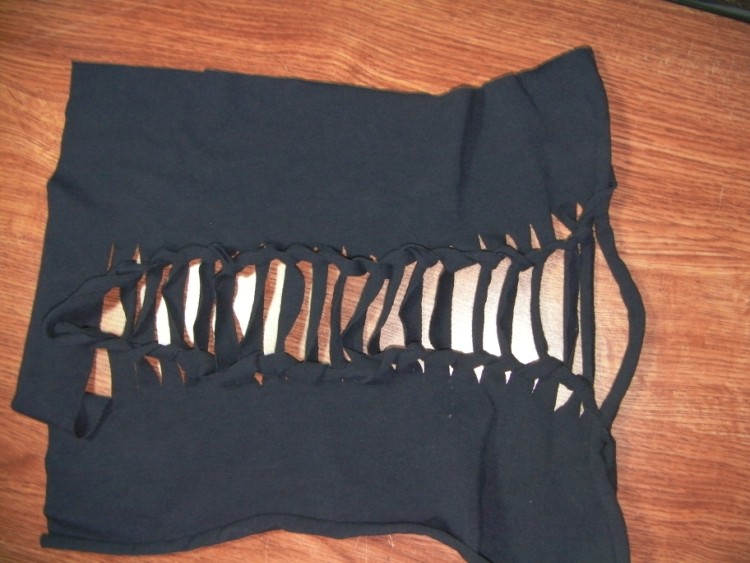
Then you’ll wrap the second loop over the first and pull the next loop through .
Continue along, pulling the next loop through the loop you are holding.
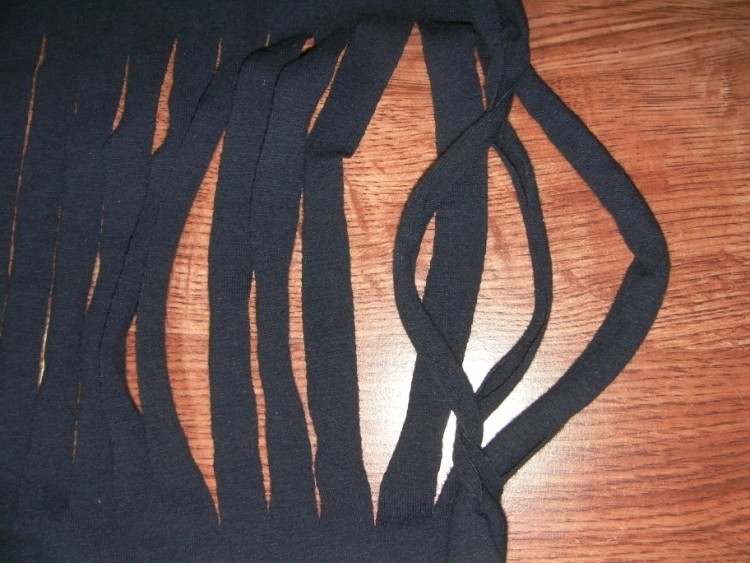
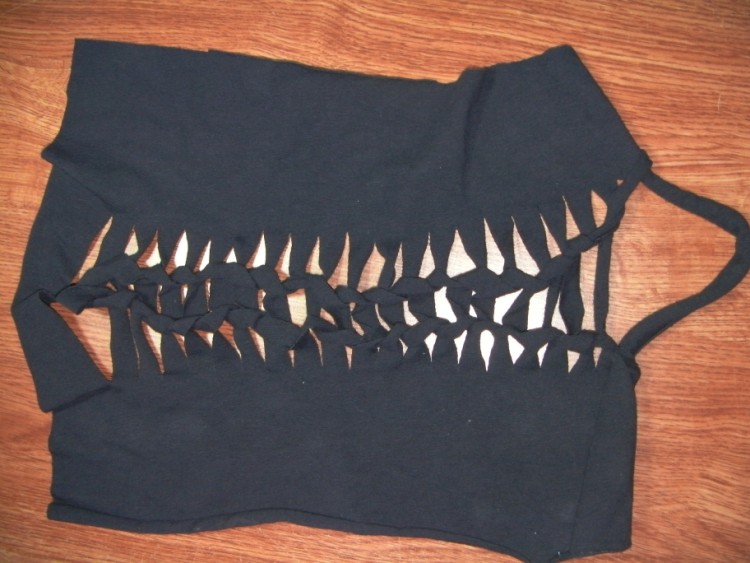
Here’s what it will look like when you’re done:
You can take some time to arrange the loops to your liking. Here I’ve scooched all the loops closer to the center.
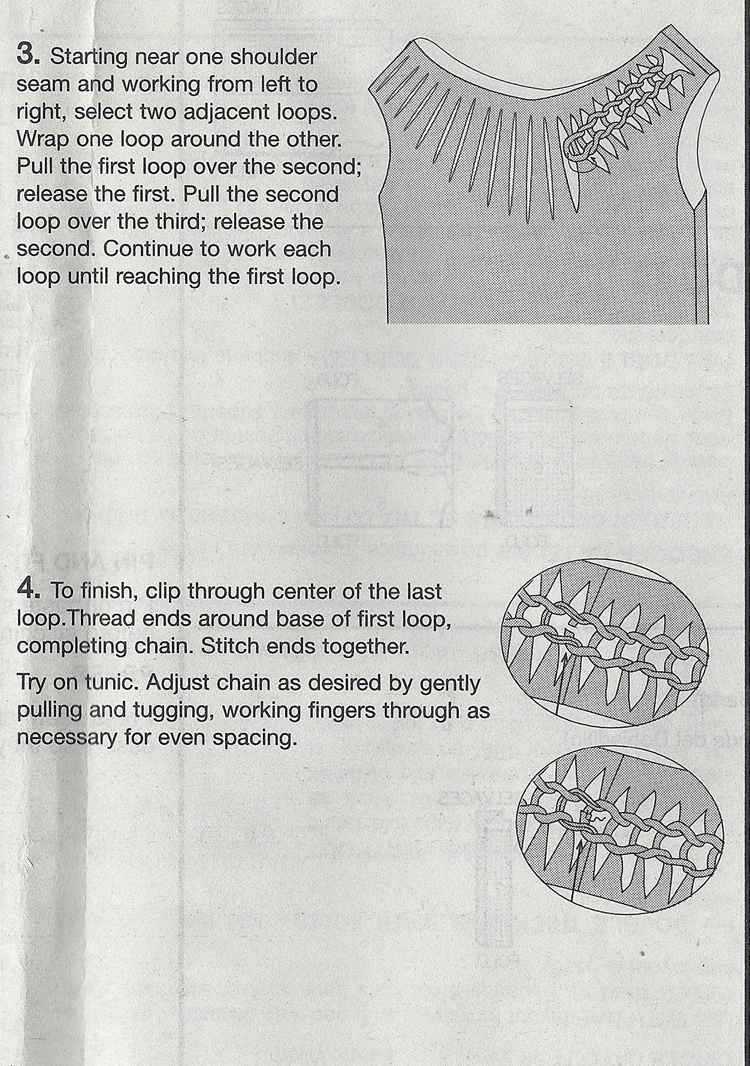
And here are the pattern directions. I’m not sure which are more clear, mine or theirs, lol.
Seriously, though, grab some scrap fabric and try it out. You’ll see what I mean, hard to explain, but easy to do.
I think this would be a fun way to transform a t-shirt.
Have a happy, creative weekend, all!




Wowee! Another winner from you!
Aw, Patsy, you’re too kind. I’m blushing…
Okay, I see. It is simple. Obviously, you have to start with a fabric that won’t fray. Nice effect!
It was so gratifying to help you see just how simple it is!
Yup, non-fraying fabric is a good start, although today the rough frayed edges are popular, too. Hmmm….. The stretchiness of knit is definitely a plus, I’m not sure how this would look in a firmly woven fabric. Might have to go try…