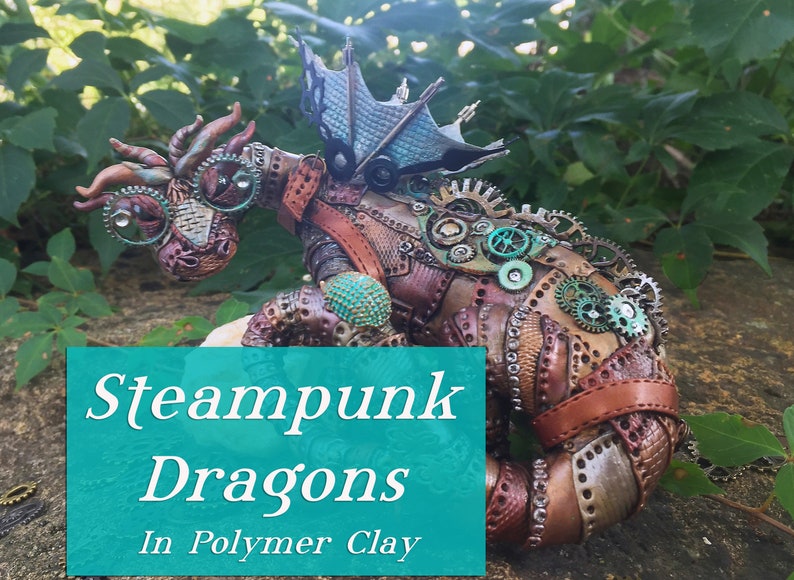
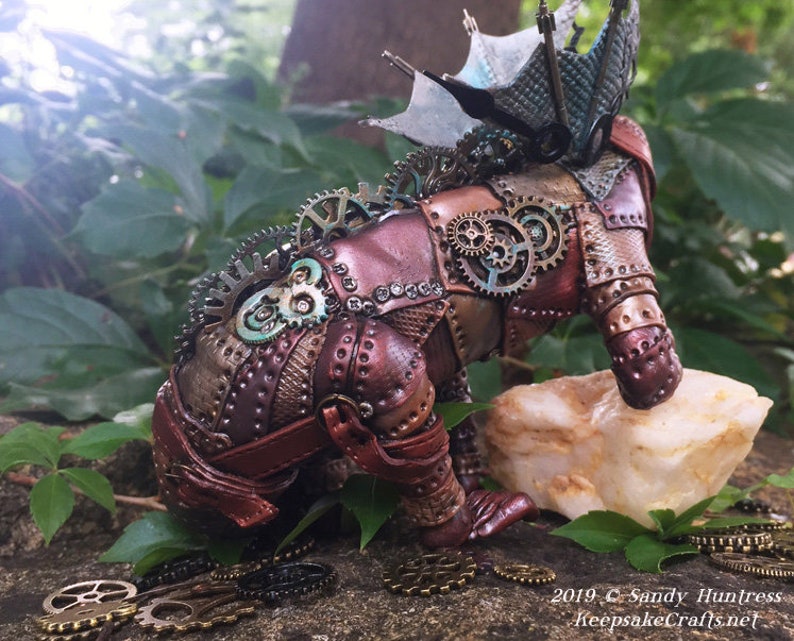
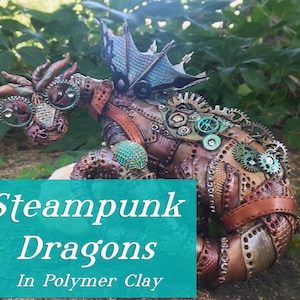
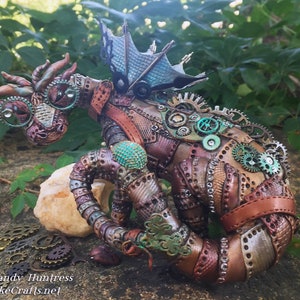
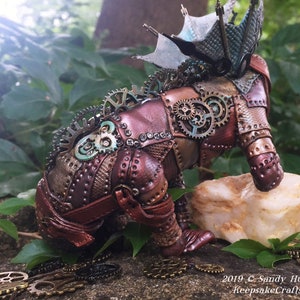
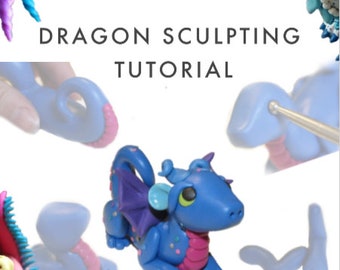
Learn how to create your own version of one of Sandy's most popular sculptures: the steampunk dragon.
This class covers all the steps in this very detailed project.
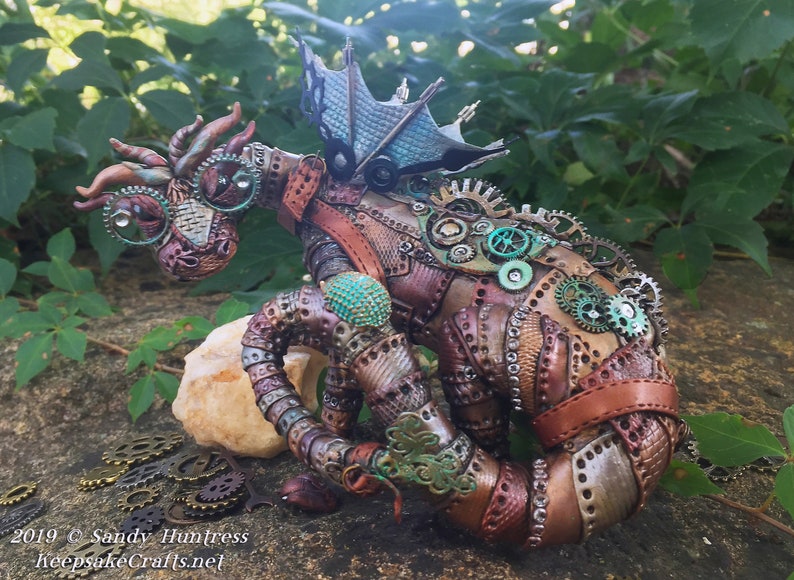
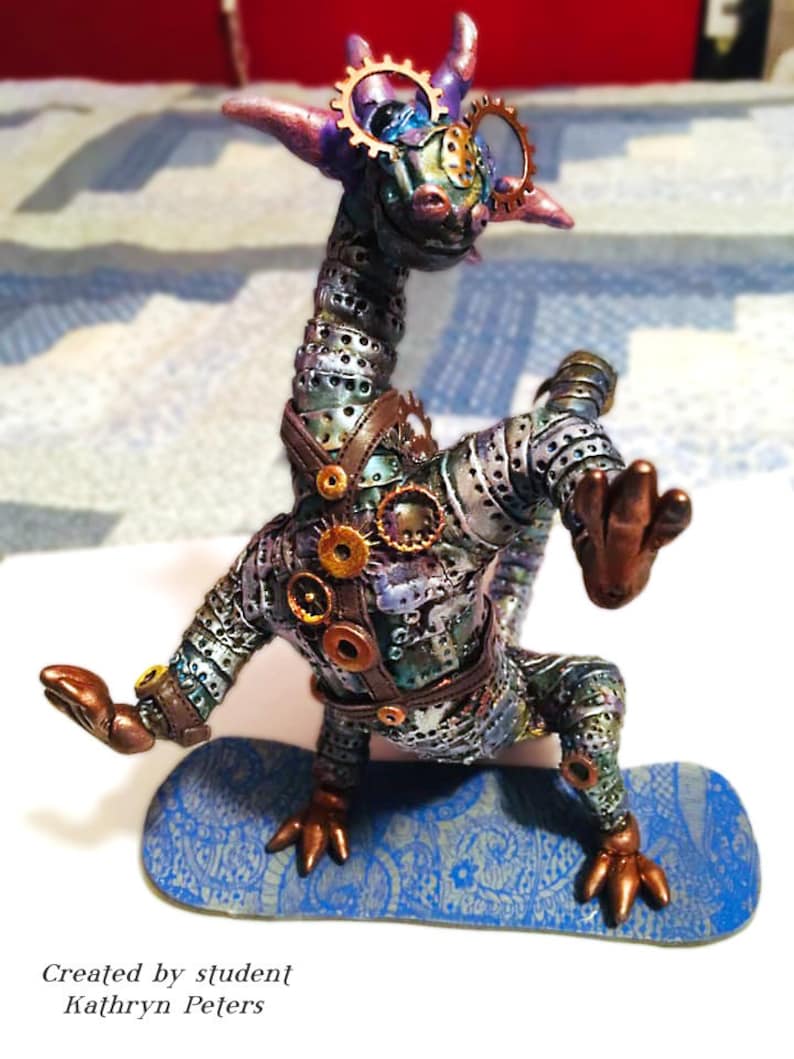
**** We start with where to find inspiration for the attitude, mood and pose of your dragon. You'll get ideas for props, inclusions and extras.
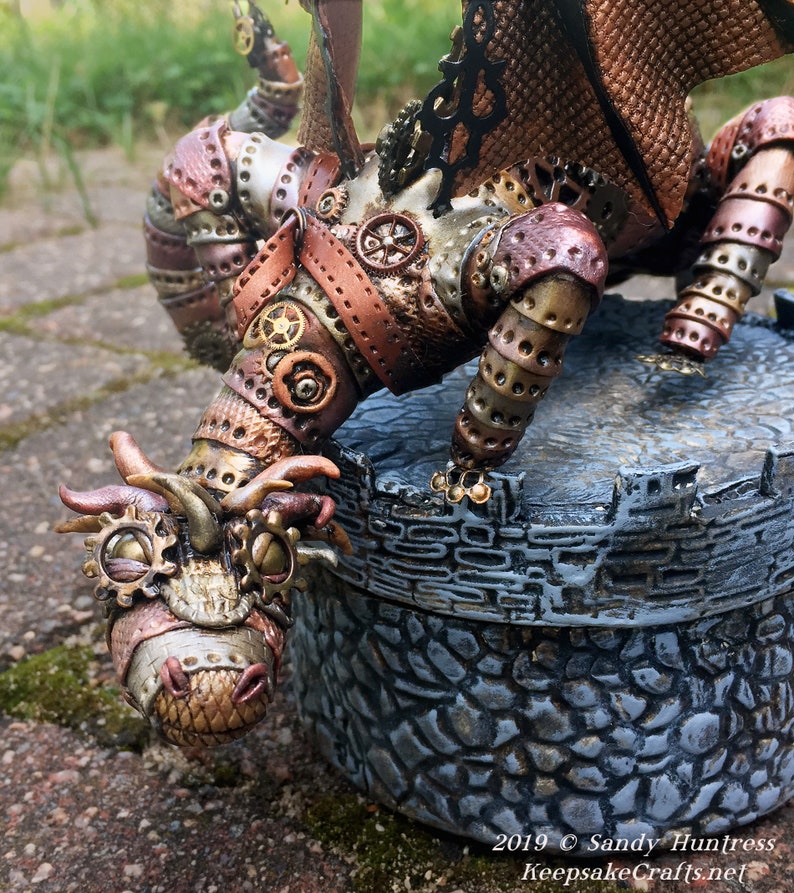
**** Then we'll build an armature that will be the skeleton for your dragon’s body. You'll learn how to build it and get tips for achieving exactly the look you want.
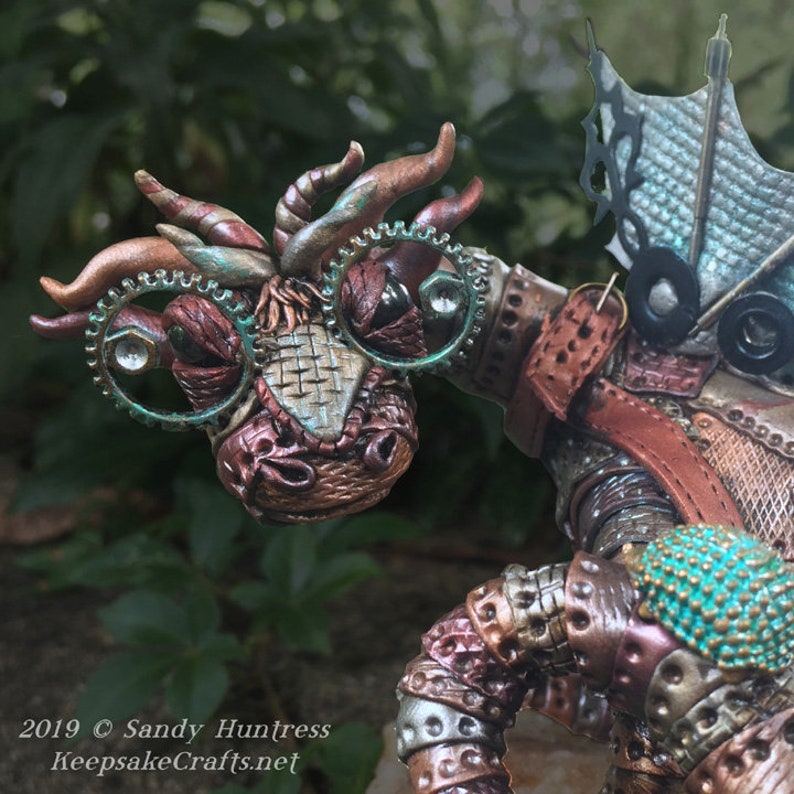
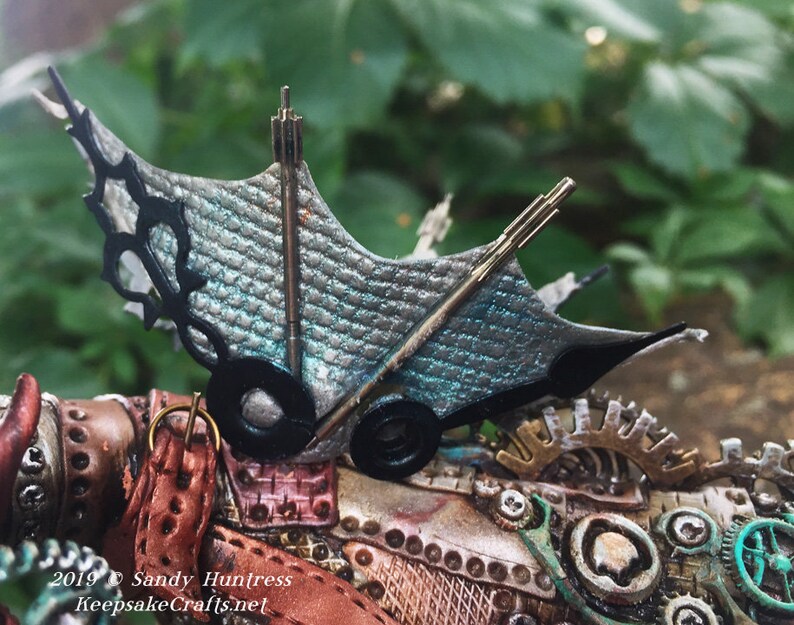
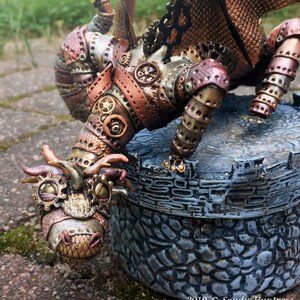
**** Next we'll add fun details including faux metal plates, steampunk gears, and the coolest looking wings. You can even give your dragon its own brass goggles!
We'll also look briefly at how gears in a clock actually work. Nothing too technical, but it will help us get a more realistic effect.
Along the way Sandy will show how to correct problems, personalize your project and give design tips so that when are you done you will have an amazing piece of art!
Watch a video preview of this class: https://youtu.be/zQFugF0wus4
~~~~~~~ Comments from students: ~~~~~~~
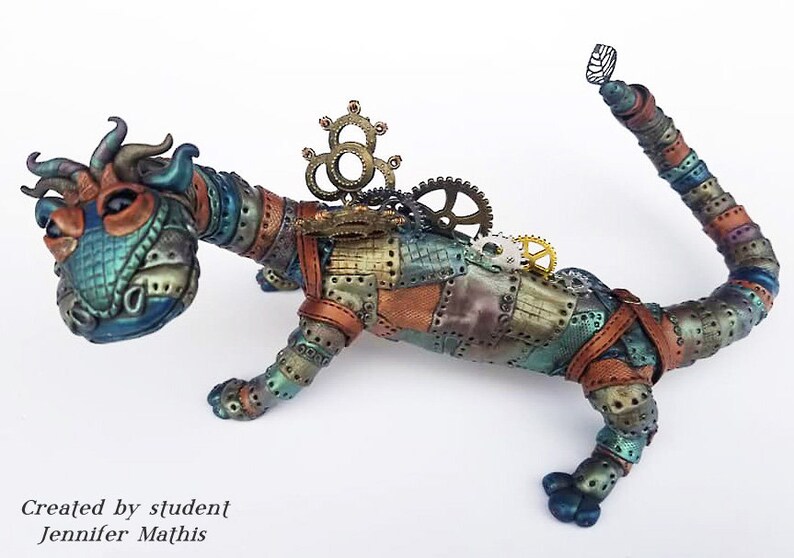
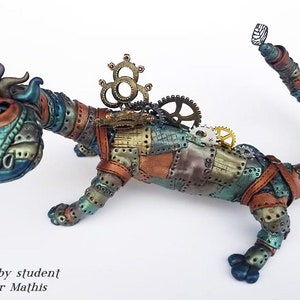
"I’m so grateful for Sandy's class because it pushed me to try something I had never done before. That was my very first sculptural piece. I actually started watching the class thinking there was no way I could do it. I love my little guy and how he turned out."
~~ Jennifer Mathis
"Thank you Sandy Huntress for showing a way to make an armature that actually works for me. I will definitely be using this technique again!"
~~ Debby Glynn
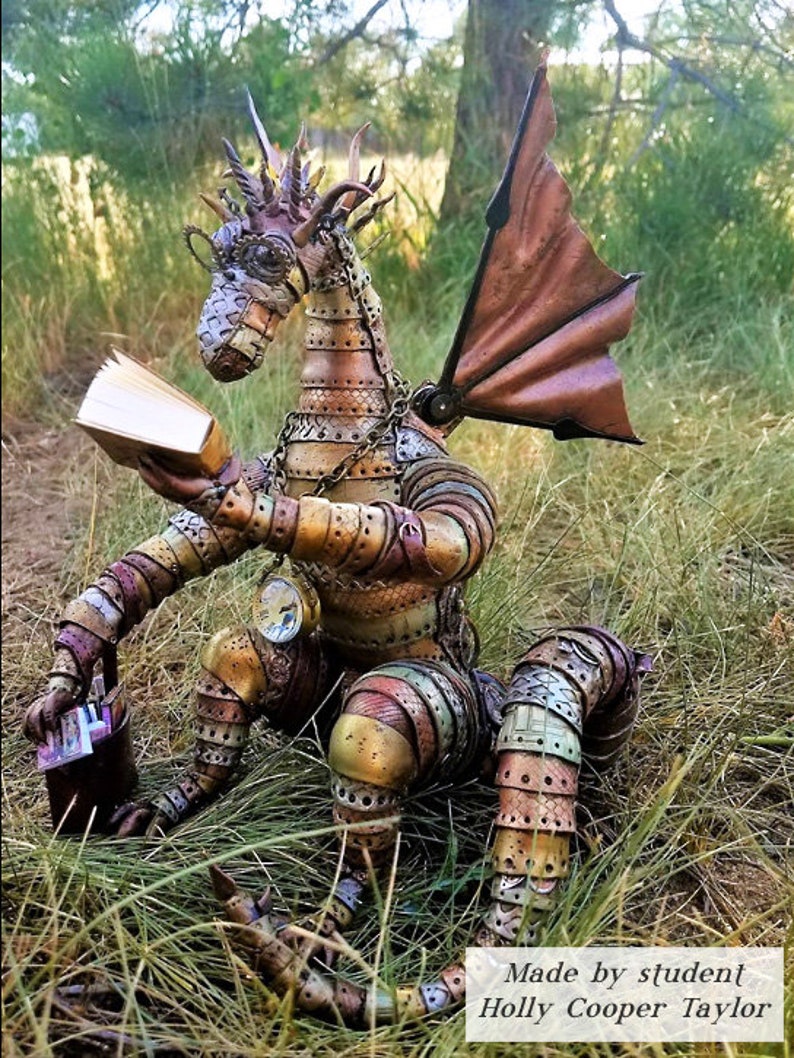
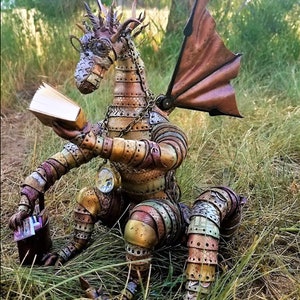
"Remus the Reader Steampunk Dragon is complete. Thanks, Sandy Huntress, for a great tutorial."
~~ Holly Cooper Taylor
"Thank you Sandy for a great class, I really enjoyed this one."
~~ Erin Baggett Perkins
"Thanks, Sandy! I really enjoyed your tutorial - it has opened my eyes to all sorts of options."
~~ Bronwen Cleary
"I always enjoy Sandy Huntress' videos. She's amazingly talented."
~~ Gale Loder
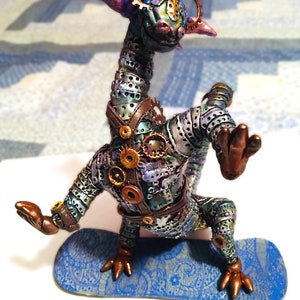
"I had so much fun with this project!!! Thank you Sandy for such a wonderful class. I have never made a dragon before now I will never stop! I learned so much."
~~ Andrea Daniel
~~~~~~~~~~~~~~~~~~~~~~~~~~~~~~
This class includes nine videos for a total of 4 hour of instruction.
You will receive a PDF with:
* Links and password for all nine videos
* Materials list
* Helpful product links
* A printable outline for all the steps involved in making your dragon
* Templates for the wings in two sizes
********************** Note*****************************
Except for the outline, there is no written instruction for this class, it is all on video.
*********************************************************
You have the option of downloading your classes to keep for your personal use forever!
This video tutorial is suitable for any polymer clayers, from beginner on up. If you know the basics, like how to condition clay, you are ready to start creating steampunk dragons.
Yes, it is a detailed, involved project with lots of steps, but none of them are difficult. :-)
Tools & Materials:
Armature wire or heavy gauge floral wire
Aluminum foil
Floral tape
4 to 6 ounces scrap clay
Metallic clay in colors of choice, 3-4 ounces (I used Copper, Bronze, Silver, Gold)
Clay texturing tools such as netting, mesh, and diamond patterned tool handles
1/8 inch ball dotting tool
Clay blades, flexible and rigid
Pasta machine
Sculpting tools such as the Can't Live Without It and Gotta Have It tools
Liquid clay
Metal gears
Metal shears
Safety glasses
Fat Daddio football shaped cutters, or similar
6-8mm glass or metal beads for eyes
20 gauge craft wire
Pliers
Metal filigree pieces
Mica powders, I used Perfect Pearls in Pewter and Blue Patina
Polybonder glue
Craft knife
Needle tool
Small screwdriver set
Wire cutters
Soft brush
Lisa Pavelka steampunk gear mold
Tracing wheel, from sewing department
8 mm jump rings or split rings
Head pin or wire to match color of jump rings or split rings
Drywall sanding mesh
Clock hands or other long thin parts for wing ribs (see parts kit, below)
Knitting needle or bamboo skewer
Brown acrylic paint
Microfiber cloth
Vintaj patinas, I used Nouveau Silver, Verdigris and Jade
Armor All
1/16" drill bit
2 eye pins
Awl
The Steampunk Gear kits are now SOLD OUT.
****************************************
My tutorials are non-refundable items, so please ask any questions you have before buying. I will be happy to answer them.
This video tutorial is for your personal use only.
I make a living creating and selling tutorials, so please keep in mind that a lot of my time, energy, creativity and love went into developing and putting together this tutorial for you.
Please respect my rights as an author and do not share, resell or redistribute this tutorial in any way. Please do not teach the techniques in this tutorial to others, whether in person, online, at guilds, etc.
polymer clay tutorial
doll tutorial
tutorial for doll
tutorial doll
mixed medium tutorial
craft tutorial
clay tutorial
tutorial polimer clay
tut
video tutorial
polymer clay pendant
mixed medium jewelry
dragon miniature
polymerclay tutorial
polymer clay jewelry pattern
polymer clay miniature tutorial
tutorial polymer