


Last week you saw a quilt on my desk that I was repairing. Many folks expressed interest, so I thought I’d share a few tips.
This quilt was made by the mother of a friend of mine. Her mom has since passed away and my friend wants to keep these quilts usable as long as possible. She was right in noting that with all the rips, tears and popped seams if she continued to use it, it would be beyond repair very soon.
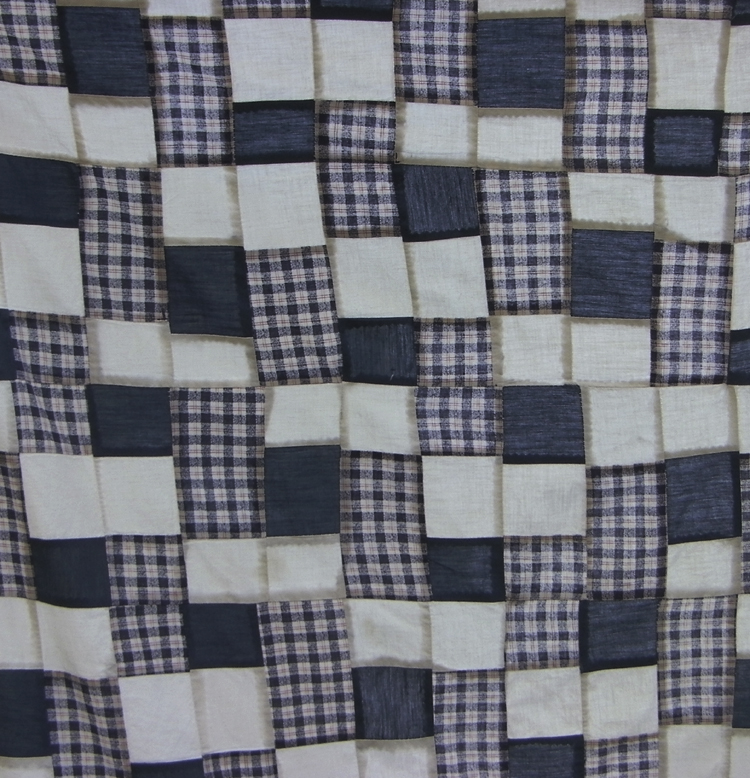
The quilt was made of entirely machine pieced patchwork, and machine quilted with straight stitches. Since there was no intricate machine or hand quilting, and the batting was worn and patchy in many spots, I decided to remove all the quilting, separate the backing and batting from the top and add a completely new batting.
(If the quilting had been expertly done, or had sentimental value, I would not have done so, but would have preserved my friend’s mom’s work.)
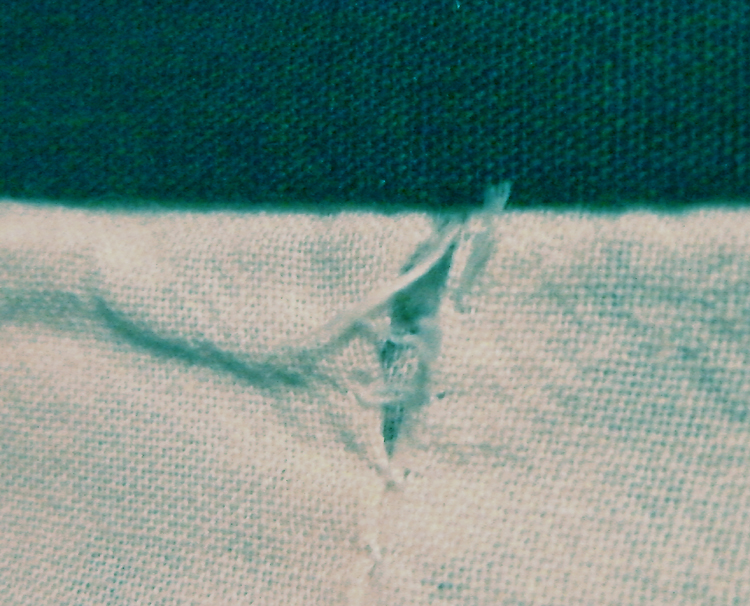
The main things to repair on this quilt were all the popped seams. As I stopped counting at around 30 (I suspect there were over 100), this would have been an awful lot to repair by hand. Separating out the batting & backing and working on the top alone made this job easier.
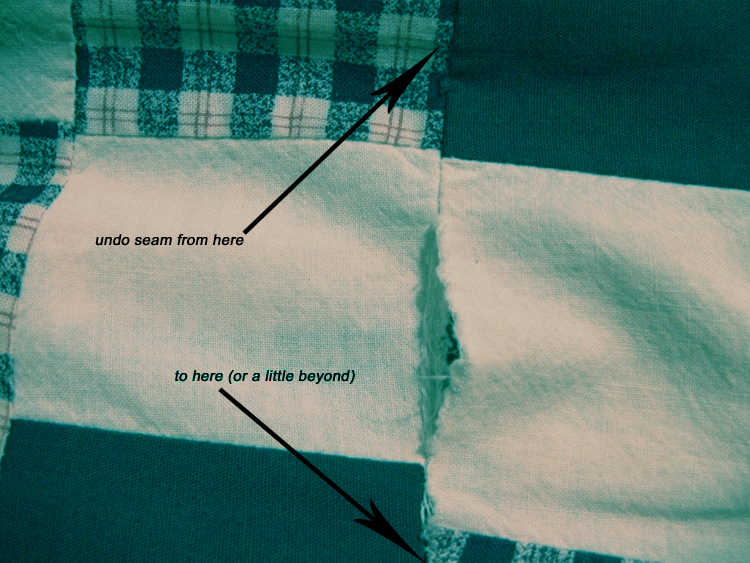
There were many of these:
The principal thing to remember when repairing a seam is that the seams need to be sewn in the same order they were originally sewn. If I just tried to sew up the seam in the white fabrics, there would most likely be a pucker in the dark fabric.
Instead, you have to remove a portion of the crossing seam.
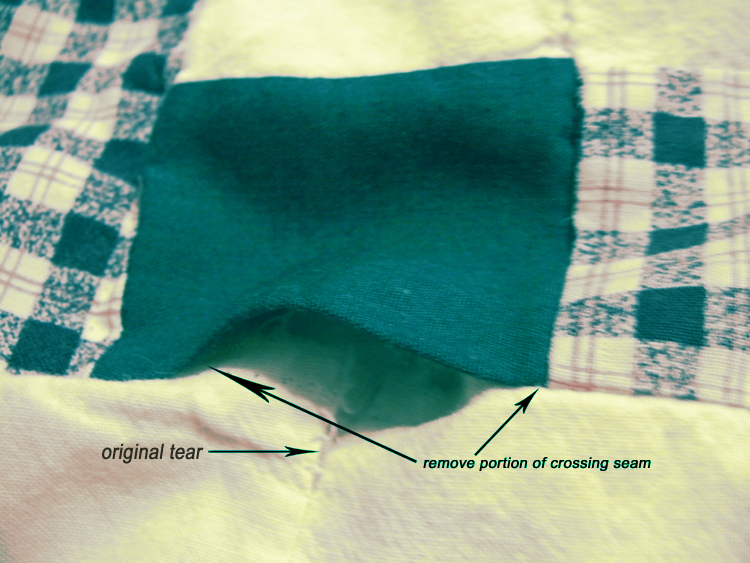
Now you can sew up the white squares, THEN resew the blue square, easing in any difference.
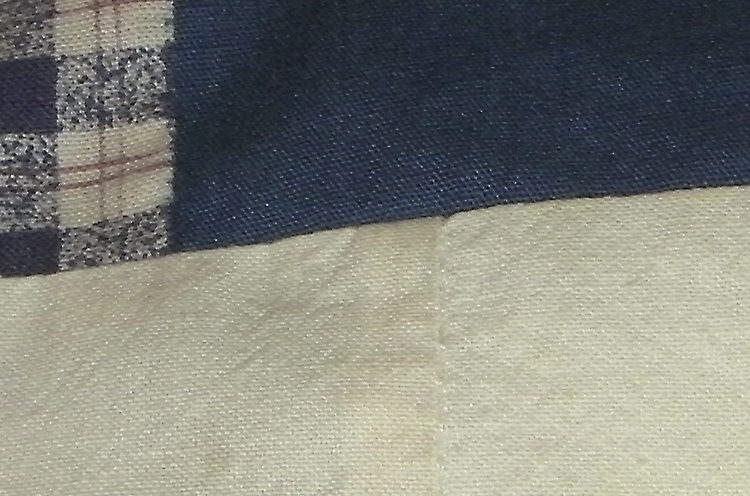
Once thing you’ll find helpful in working with all these small seams is to press the creases out of the seam allowances before sewing.
To get smooth seams without bulges or bumps, make sure to remove plenty of the stitching before and after the repair to be made. If the fabric left for a seam allowance is scant you can take up a little extra, tapering in at the start and finish.
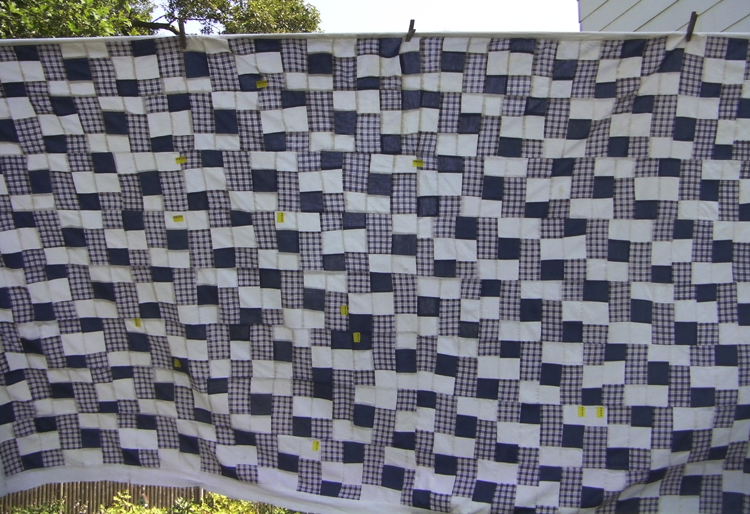
I found a few tears in the fabric and just stitched them up and press the area as flat as possible. There’s no way this quilt is going to lie perfectly flat, anyhow. Remember, we’re not going for perfection here, but preservation of memories.
I thought I was all done with the top repairs, but while ironing, I found many more places to fix. These were all marked with stickers to save me from having to hunt for them again.
Now it’s time to relayer the quilt with its new batting and redo the machine quilting. I’ll do it the same way the original maker did, with navy thread and straight lines. I am reusing the old backing and binding, so the outside appearance of the quilt will be much the same as it was, only better!
By the way, you might be interested to know that to get the quilt to this point has taken 17 hours, no small undertaking! I’m guessing that 80% of that time was spent ripping out stitching, and only 20% was doing the actual sewing.
The next quilt I’m repairing has hand quilting in it, so I won’t be removing the backing. This will involve a completely different process, which I’ll share when I get to it.
Happy crafting!

It always takes longer to do things right, but it makes such a difference, doesn’t it? I have an old quilt that my MIL gave me about 25 years ago, so I’ll be watching for your next tutorial on repairing hand quilting.
It always takes longer than it seems like it ought to. My poor husband struggles with this in his business.
Dunno when the next quilt repair tut will be coming, but it will. I may wait for cooler weather. Phew!