


Have you ever noticed that musicians usually play more than one musical instrument? Or that folks who do crafts rarely have just one project going? I think this is a mark of all creative people that we want to explore the horizons of our chosen field and that means trying as many different media as we possibly can.
Although my focus for the last several years has been working in polymer clay, looking back now I can see that no matter what I worked in, whether it was quilting, scrapbooking, card making or something else, I always found myself drawn to the sculptural elements.
So when the opportunity to try a new sculpting material came along, I went for it!
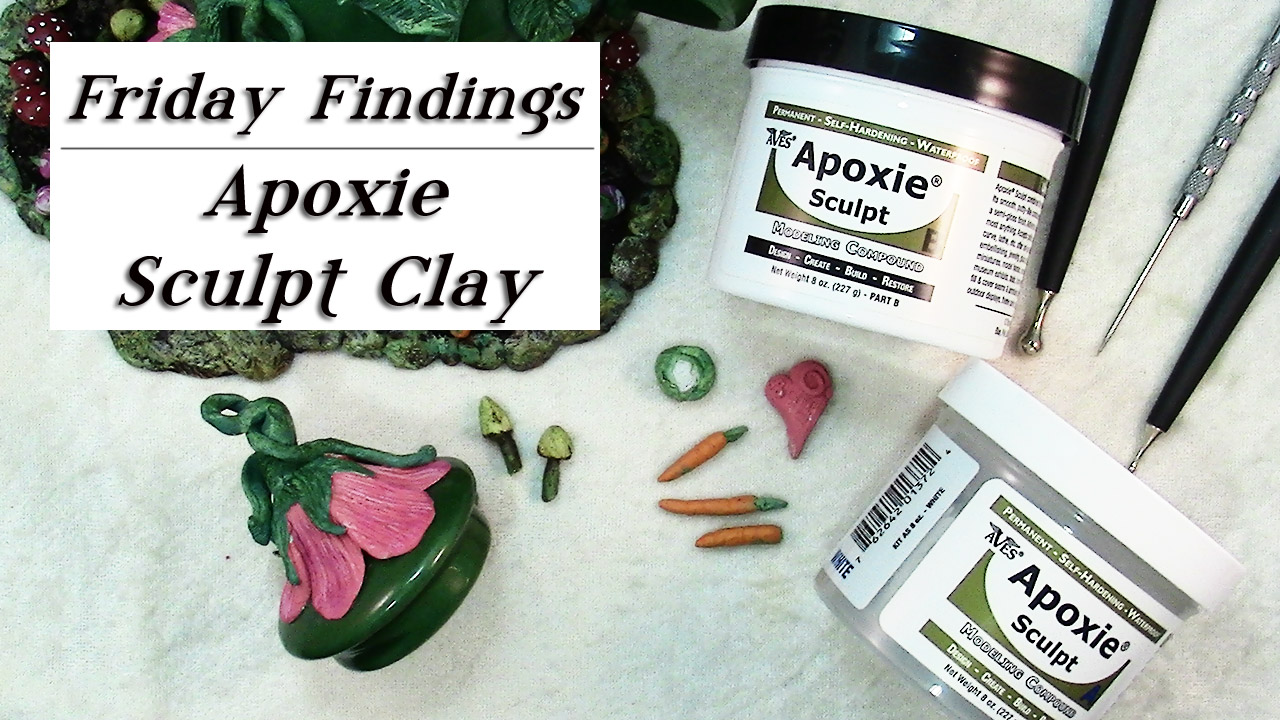
In today’s Friday Findings video I’m going to tell you all about what I’ve learned regarding working with Apoxie Sculpt clay.
One of the things I forgot to mention in the video is that you can only color the white so dark. If you are going for a dark color I suggest you add paint to get it close to that color, and then paint over it after the clay has hardened.
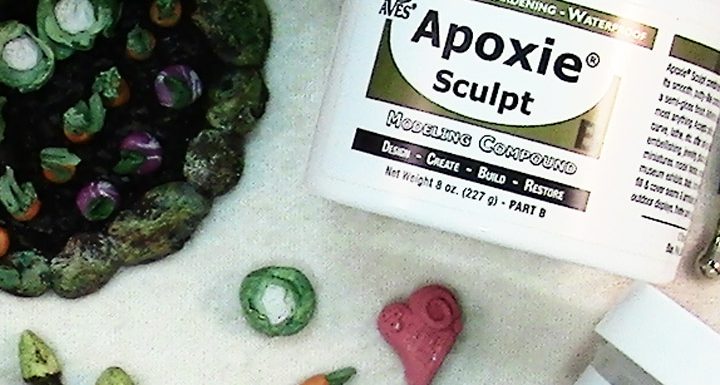
As I mentioned in the video I colored my Apoxie Sculpt clay with acrylic paints, but I encourage you to try other colorants such as mica powders, chalk pastels, oil paints, or maybe even alcohol ink. I don’t know how all of these will react with the clay but it will be fun to experiment and find out.
Tools & Materials:
- Apoxie Sculpt clay
- Nonstick craft sheet
- disposable gloves
- your usual tools for sculpting such as needle tools, blades, etc
Enjoy the video and happy creating!
Watch the How to Use Apoxie Sculpt Clay-Friday Findings Tutorial at YouTube.

Hi Sandy, thank you for the video and info on the Apoxie Sculpt. I also have been wanting to try this. I’ve watched a lot of Lisa Pavelka’s videos on YouTube and she does some amazing things with this stuff. I just haven’t bought it yet because I just got bought some Magic Glos and I love it.. no more waiting for resin to set up for 10-12 hours!! Anyway, thanks for the info on coloring it. I probably never would have thought of that!