


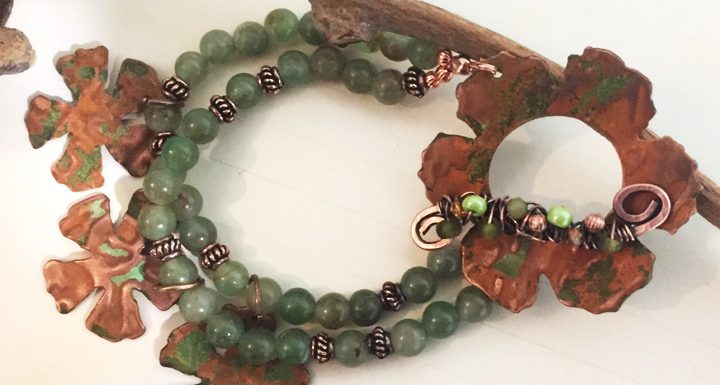
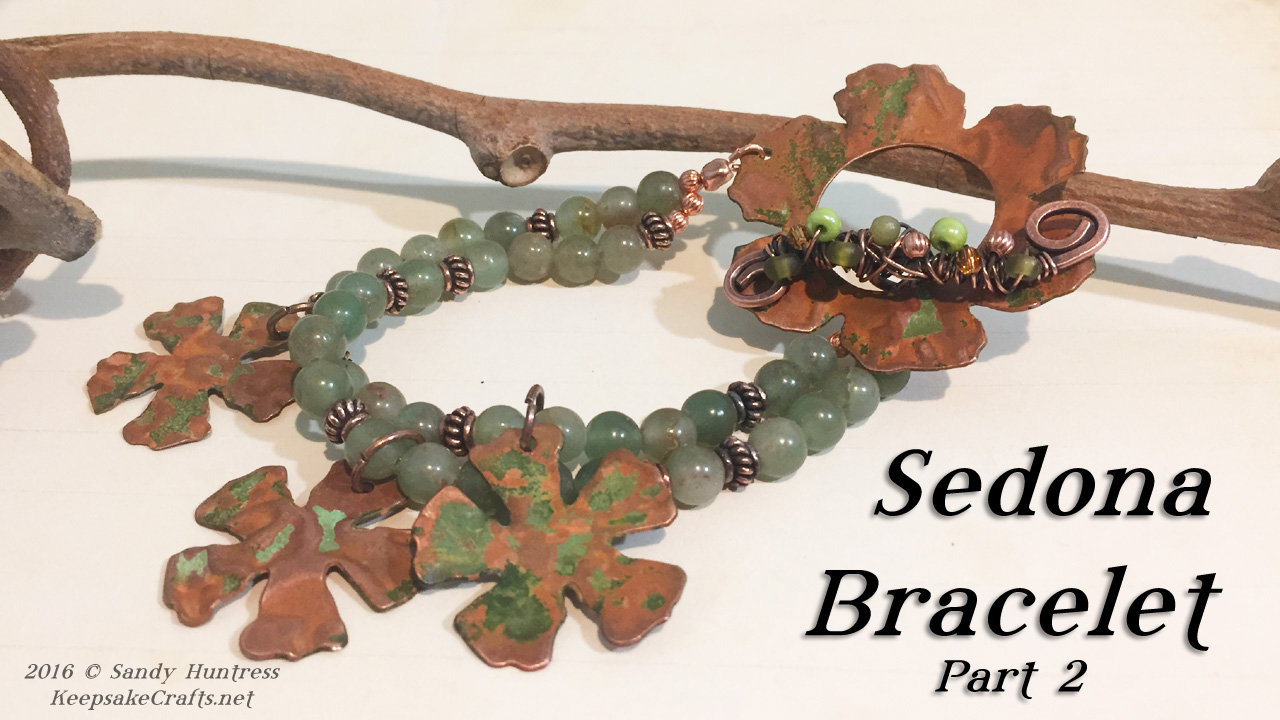
This week brings the second part in how to make this bracelet. I really had a lot of fun using my scrapbooking dies and embossing folders to shape and decorate these copper pieces.
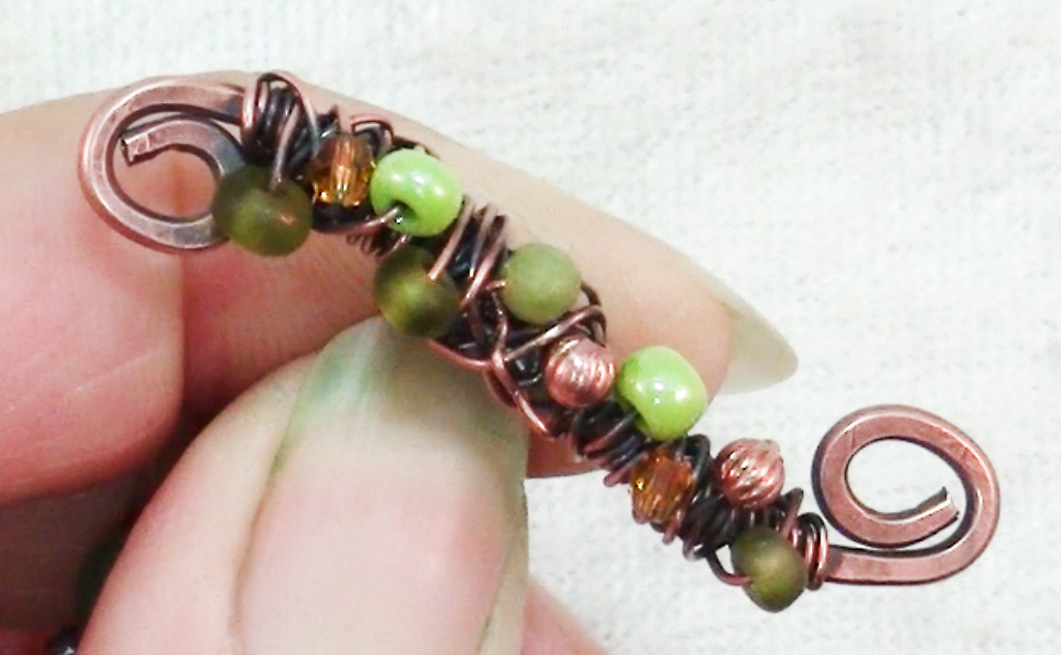
In today’s video I show you how to make a “tornado toggle” to finish up your bracelet closure. It’s really simple to do, a lot of fun and has great impact.
This closure with its embossed copper flower and tornado toggle would look fantastic as the focal point of a necklace. Simply have the chain go around the neck, and then perhaps punch another hole in the flower to add a dangle to keep it everything weighted and hanging nicely.
Yes, the list of supplies is long, but if you’ve been crafting for a while you may already have many of them. And if you plan to continue making jewelry you will find uses for them for a long time to come.
Tools and Materials:
- 24 gauge cover sheet metal
- Steel rule dies such as these by Sizzix (I used the Tattered Flowers and Sewing Room)
- Butane torch
- Charcoal block or fire brick
- Sharpie marker
- Cross lock tweezers
- Safety glasses
- Die cutting/embossing machine
- Embossing folders
- Metal shears
- Metal files
- Penny bright copper polish
- Screw punch
- Steel wool
- Curved form such as a bracelet mandrel
- Nylon hammer
- Swellegant patina
- Liver of sulfur
- Pro polish pads
- Bead stringing wire
- Beads
- Wire protectors
- Crimps
- Crimp covers
- Crimping pliers
- Wire cutters
- Jump rings
If you need more detail on some of the techniques mentioned, these videos will be helpful:
- How to Use a Screw Punch
- Using Swellegant Patinas
- Adding a Liver of Sulfur Patina
- Bead Stringing Basics
Enjoy the video and happy creating!
Watch the Sedona Bracelet Part 2- Jewelry Tutorial at YouTube.

So beautiful. I love the restful fall colors.
Thanks! Glad you like it. 🙂