


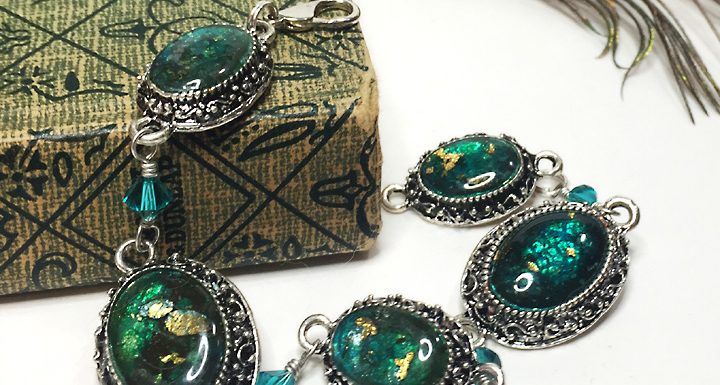
When I first saw these bezels at my local craft store I knew immediately what I wanted to do with them. The first thing was to pop out the acrylic rhinestones. Then I stuck one bezel in the oven with a load of polymer clay to make sure that they truly were metal and not acrylic, as sometimes is the case.
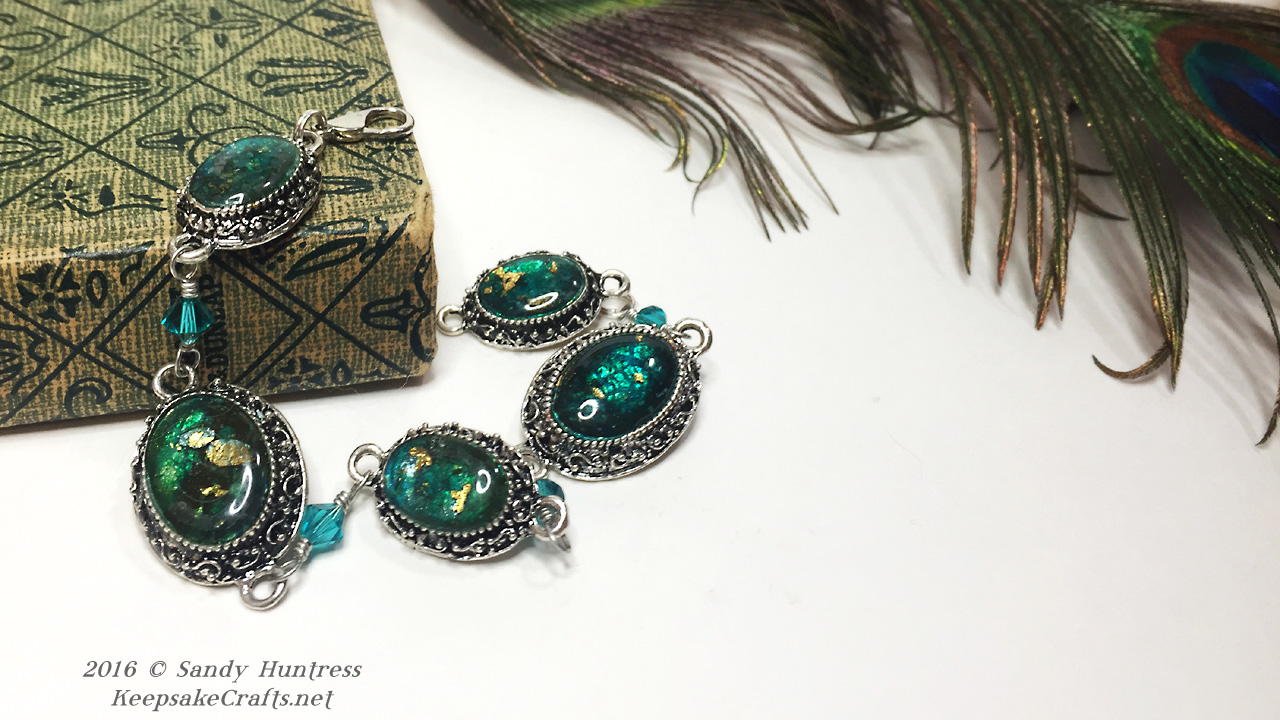
It took a bit of experimenting to get the look I wanted, but I’m quite pleased with how these came out. If I had to do it over the only thing I would change would be to use less green and more blue.
Have you noticed that I’ve been on a blue/turquoise kick lately? I can’t seem to stop using it. Don’t worry, that will probably pass and then I’ll be on to a different color obsession. 🙂
Of course, this technique can be used to make any sort of jewelry or even home dec. As you saw in the video, I was able to pop my newly created cabochons out of the bezels after adding the resin-those that were not super glued in first.
So you could make cabochons to use to decorate other objects, but I wouldn’t recommend putting the resin back in the oven. Sometimes it turns amber even at low polymer clay temperatures.
Tools and Materials
- Metal bezels
- Premo Pearl clay
- Pasta machine or acrylic roller
- Clay blade
- Simple Leaf
- Alcohol inks
- Translucent Pardo clay
- Kemper cutters
- Magic gloss UV resin
- 22 gauge craft wire
- Swarovski crystal 6mm bicones
- Clasp
- Round nose pliers
- Chain nose pliers
- Wire cutters
Enjoy the video and happy creating!
Watch the Jeweled Bezels-Polymer Clay Jewelry Tutorial video at YouTube.

Oh my, those are beautiful. I like your experiments, and I LOVE the blue/turquoise. Don’t give up on my account. 😀
Ok, I won’t!
oh, Sandy, you have really fairy fingers: the golden leaves , the gorgeous colors with your talented technic and always your tricks make a wonderful bracelet!
I like so much the way you use materials 🙂
Bravo!
Marie
Thanks so much, Marie! I love your poetic descriptions. 🙂