


I just love how quickly you can put together this bracelet. The only thing that takes any time at all is stringing on the seed beads that you need for the loop.
Choose any beads you like for this bracelet and you can have it done in under 10 minutes. A great idea for a quick gift!
I’m blessed as I inherited both my grandmother’s and my mother-in-law’s button hoards. 🙂 If you don’t have a button jar to rummage through here are a few assortments you can buy:
- Buttons Galore Haberdashery Button, Gold/Silver, Pack of 100
- Dress It Up Fancy Button Grab Bag
- Metallic Button Assortment
Enjoy the video and happy creating!
You can watch the Loop & Button Bracelet Video Tutorial over at YouTube.
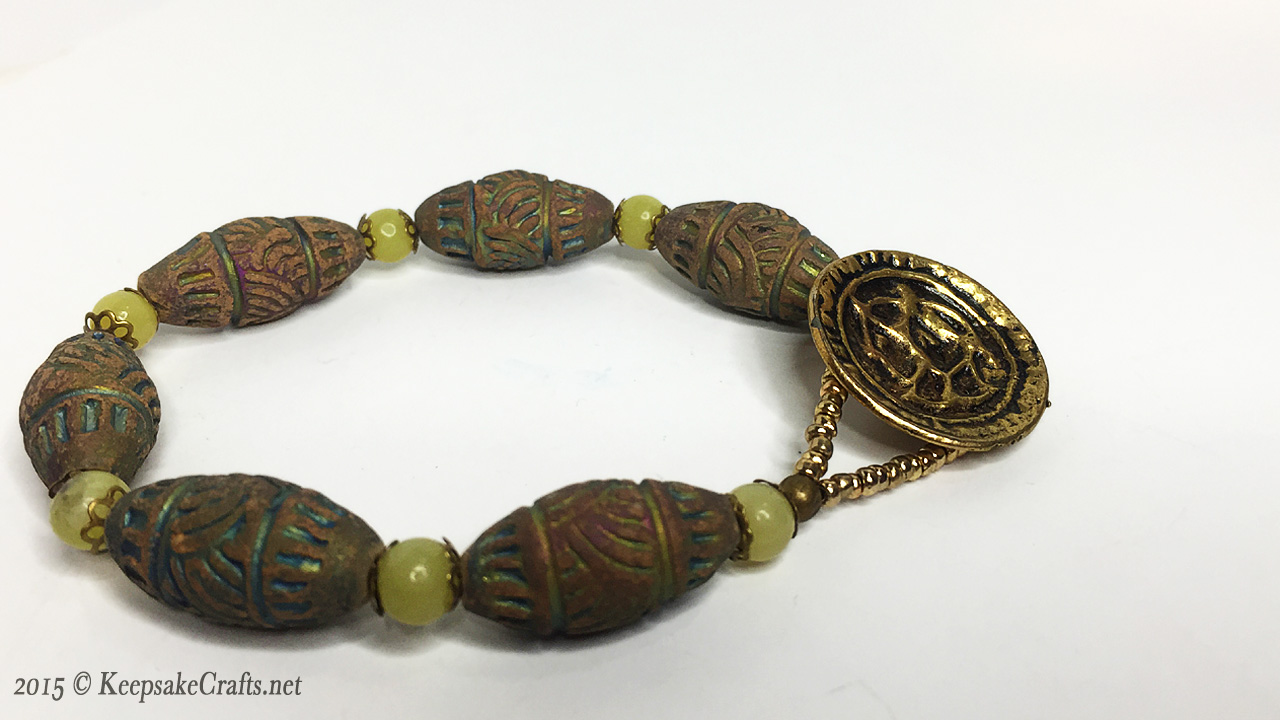
Materials
- 6 23 mm clay oval beads
- 7 6 mm gemstone beads
- 14 6 mm bead caps
- button
- seed beads
- two crimps
- two crimp covers
- bead stringing wire
Tools
- wire cutters
- crimping pliers
Directions
- Onto bead stringing wire string a pattern of: a bead cap, 6mm gemstone bead, bead cap and a clay oval bead.
- Repeat pattern using all beads, finishing with a bead cap, 6mm gemstone bead and a bead cap.
- On one end of the bead stringing wire slide a crimp and enough seed beads to make a loop that will go over the button. Slide wire back through the crimp and flatten. Cover with a crimp cover.
- On other end of bracelet slide a crimp, the loop of the button and slide the wire back through the crimp. Pull the wire up snug then back off to leave about 1/8 inch of slack. Flatten crimp and cover with a crimp cover to complete bracelet.

Oh, this is clever. And I envy your button hoard!!
Glad you like it. 🙂
You are so inspiring, I have enjoyed all of your video’s and look forward to seeing more.
Thank you, Annie! It’s wonderful to hear you say that, as it’s always my goal to inspire. 🙂