


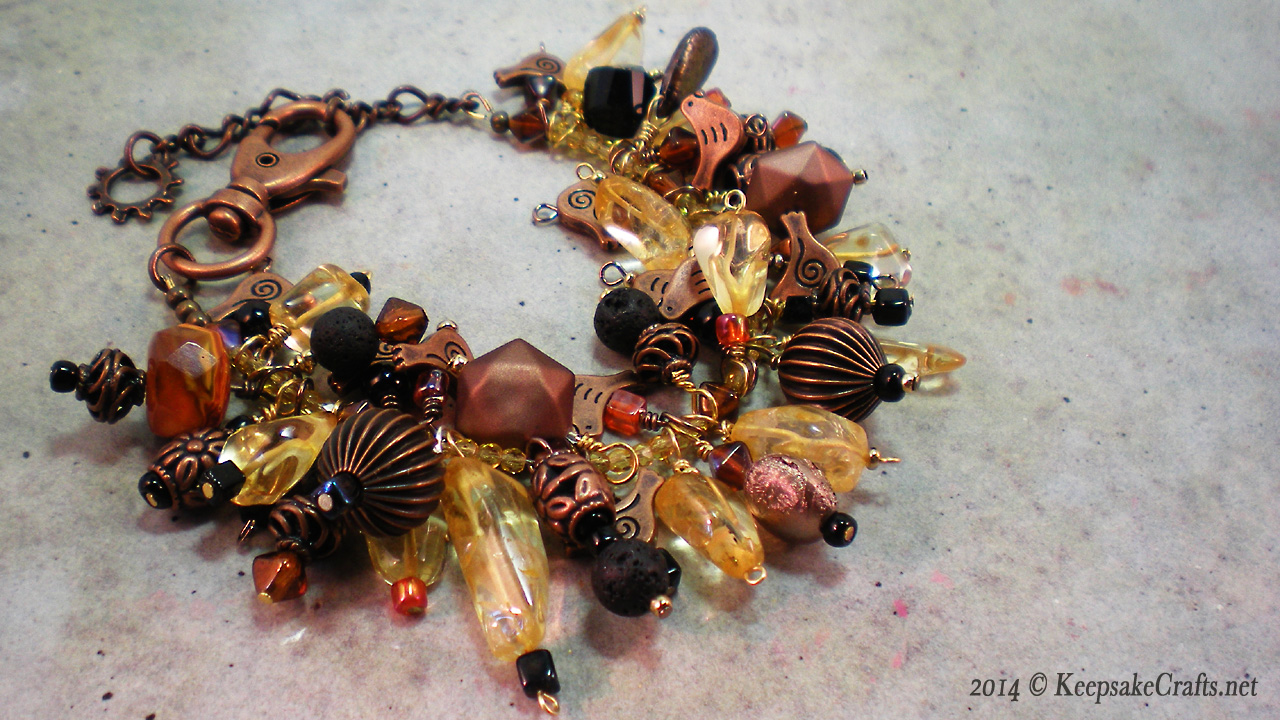
Consider this bracelet excellent practice for making wire wrapped loops. You’ll need at least 40 to make it so full.
Other than the time it takes to make all your bead dangles, this is a fairly simple bracelet. The truly fun part is shopping and digging in your stash to choose the assortment of beads.
Enjoy the video and happy creating!
You can watch the Citrine Nugget Bracelet Video Tutorial over at Youtube.
Materials:
- 12 12-16mm citrine nuggets
- 12 small metal bird shaped beads
- 16 other beads
- assorted seed beads and spacer beads
- 40 head pins
- 22 gauge wire (if you have any top drilled beads)
- 7 inches seed beads or small beads (less than 3mm)
- 8 6mm bicone beads
- 10 inches bead stringing wire
- 2 crimps
- 2 crimp covers
- 2 wire protectors
- clasp
- jump ring
- 2-inch piece chain
Tools:
- round nose pliers
- chain nose pliers
- wire cutters
- crimping pliers
- fine point sharpie
- sliding gauge
- Use sliding gauge to determine size of your seed beads or small beads. Slide gauge out to slightly larger measurement and mark that point on your round nose pliers with a sharpie.
- Slide citrine nuggets, bird beads and other beads onto head pins along with assorted seed and spacer beads to make 40 bead dangles.
- For each bead dangle use chain nose pliers to grasp wire just at point where it exits last bead. Bend wire at 90° angle. Grasp bend with round nose pliers at sharpie marked point and wrap wire around pliers as far as possible to start to make a loop. Reposition pliers to finish loop. Hold loop with chain nose pliers. Use another pair of chain nose to wrap remaining wire around wire below 90° bend. Use wire cutters to trim, if necessary. Use chain nose pliers to tuck in end.
- If you have any top drilled beads cut a 3-inch piece of 22 gauge wire. Slide wire into hole of bead, leaving ½ inch sticking out on one side. Bend both wire ends up at 90-degree angle to hole of bead. Bend wires over top of bead, making a triangle shape. Bend remaining ends of wire up, perpendicular to bead hole. Trim shorter wire to 1/8 inch from bend. Bend longer remaining wire at 90° angle. Use round nose pliers to make a loop at sharpie marked point. Wrap remaining wire around bends and down to cover bead hole. This can be done with neat, tight wraps, or in “messy wraps.”
- Sort your bead dangles into seven approximately equal piles.
- Onto bead stringing wire slide a crimp, then slide wire into one end of wire protector and out the other. Add one end of your chain to the wire protector. Slide the wire end back through the crimp and bring crimp to within 1/8-inch of wire protector. Flatten crimp and squeeze ends of wire protector together. Test to make sure crimp is holding and trim excess stringing wire. Cover crimp with a crimp cover by picking up with crimping pliers, sliding over flattened crimp and gently squeezing pliers. Use crimping pliers to shape cover into a round bead shape if necessary.
- Slide onto stringing wire a 6mm bicone bead, enough seed beads to equal 1-inch with the bicone and one pile of wire wrapped bead dangles. Repeat until you have added 7 sections of beads & bead dangles. Finish with another 6mm bicone.
- Repeat step 6 to add a crimp and wire protector to the end of stringing wire.
- Use a jump ring to attach clasp to the wire protector.

Wow. I had no idea so much could go into one bracelet. What did you do to your thumb? Did I miss the explanation?
Ha. Now you’re onto me that the jewelry videos don’t necessarily go up in the order I’ve made them and it’s often a few weeks after I’ve made them.
I sliced my thumb with a nice fresh, sharp exacto blade while cutting the foam core to make my little corkboards. (Mentioned back in this post: http://keepsakecrafts.net/blog/2014/08/26/woyww-craft-room-organizing.)
It happened right before I was going to record a video and it was clean, but DEEP. I did try to spare you guys the gore, but I think in one video you will see a band aid gradually soaking through. Ew.
Oh, okay. It didn’t gross me out as much as worry me. As long as you’re okay, I’m impressed that you suffer for your craft. 😀