


Are you inspired by materials or by ideas? I’ve found I often have to have a material in hand, and then the ideas just start flowing for possibilities what to do with it.
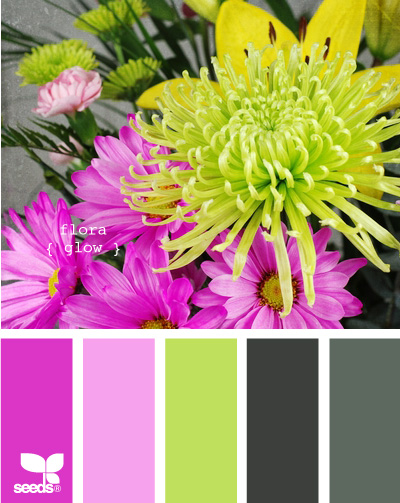
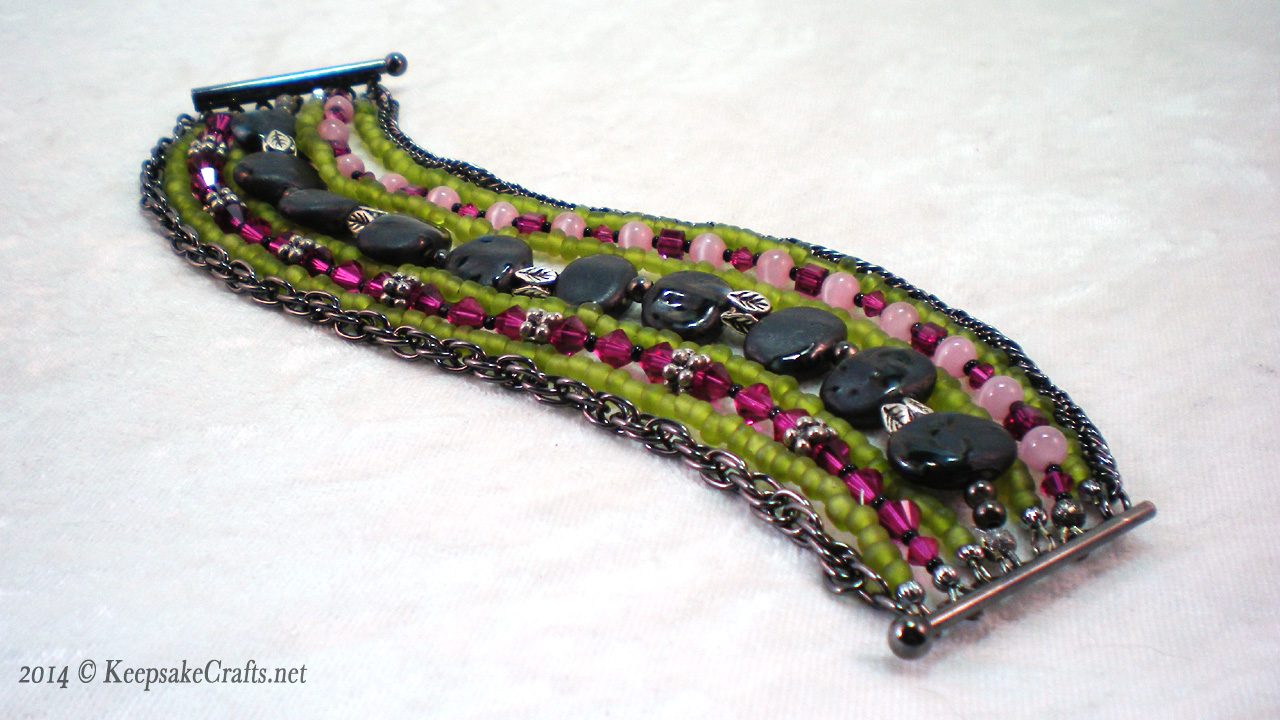
This gunmetal slide clasp came in a goody bag from Fire Mountain Gems. I don’t usually work in grays, so put it aside a long time ago. But then I found I liked the colors in this photo, gray included, enough to add it to my “Color Inspirations” Pinterest board.
Finding the right combination of colors, textures & shapes of beads was also a challenge. These matte finish glass gray ones in the middle contrast nicely with the shiny sparkle of the Swarovski cubes & bicones and the frosted greens. The little bits of black seed beads and the gunmetal chain pull it all together.
I challenge you to do a project based on a Pinterest pin. We’re collecting all these pics for a reason, right? 😉
Enjoy the video and happy creating!
Materials:
- slide clasp with seven holes
- 7 10-inch pieces bead stringing wire
- beads of your choice to string approximately 7 inches on each strand of wire
- 2 7-inch lengths of chain
- crimps
- crimp covers
- wire protectors
- jump rings
Tools:
- wire cutters
- chain nose pliers
- crimping pliers
- bead stoppers (optional, but useful if you want to string your beads in advance)
Keep in mind that you’ll need to make this bracelet longer than you normally would to account for the width. The clasp, crimps and wire protectors will take up about one inch of length, so plan accordingly.
To attach stringing wire to clasp loops slide on a crimp bead and slide wire into one end of a wire protector and out the other.
Hook the wire protector over a loop of your clasp and slide wire back through crimp. Gently squeeze ends to make wire protector more of a teardrop, rather than horseshoe, shape. Use chain nose pliers to flatten crimp close to wire protector.
Use crimping pliers to pick up a crimp cover and place over flattened crimp. Squeeze gently to close crimp cover and form into a round bead shape. String on your choice of beads and repeat crimping to attach other end to other piece of clasp.
Attach as many lengths of strung beads to your slide clasp as you’d like, making sure to not twist the strands. Check strands against each to make sure they are all the same length.
Use jump rings to attach lengths of chain to either end of clasp.

That’s fantastic! One thing quilting taught me was that neutrals are an essential part of design. You just “happened” to hit on a great combination. Very nicely done.
Thanks! In jewelry making the metals usually are the neutrals.