


Wouldn’t it be nice to be able to have jewelry findings in any size shape, color and finish you want, and not be limited by what you can find at the store?
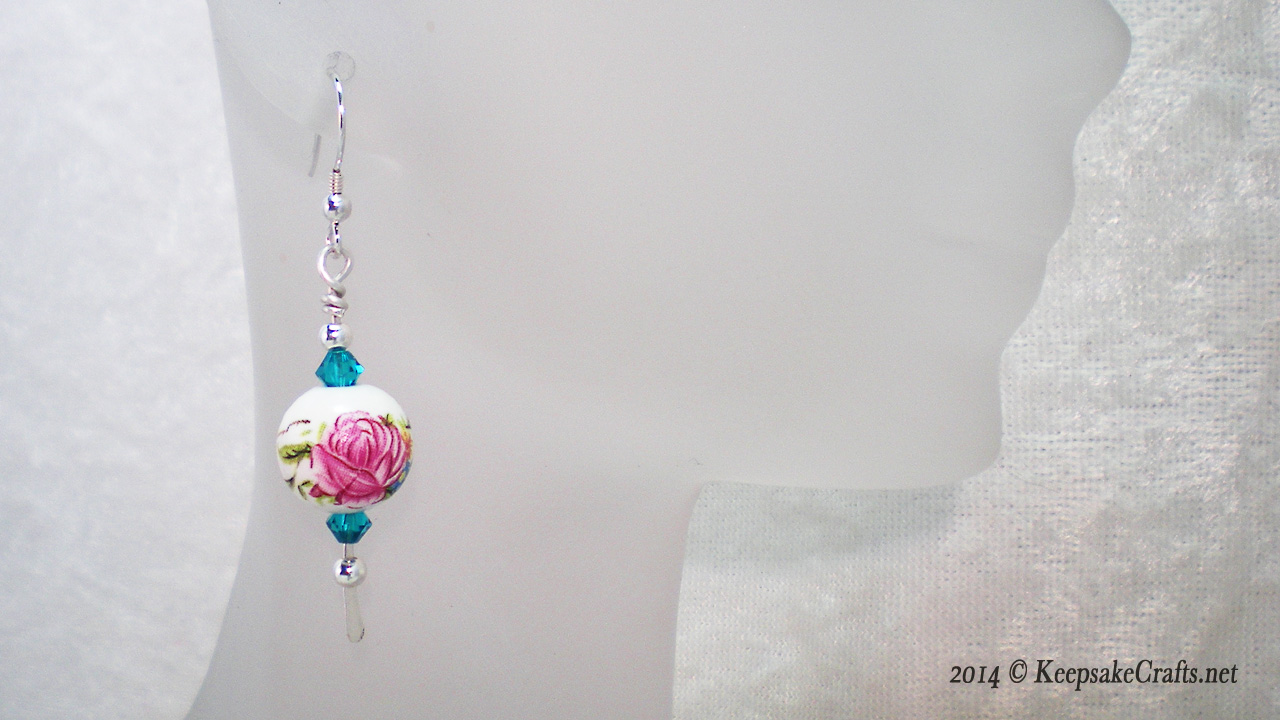
These earrings feature a very simple technique to make your own headpins. All you need is some wire and a hammer.
Like I said, this is a very basic technique. Although I didn’t do it for these earrings, I could have made my own ear wires as well. I learned how in the Craftsy class Make Your Own Wirework Findings.
We also learned how to make cool twisted jump rings, a wide variety of toggle clasps and lots of other fun stuff.
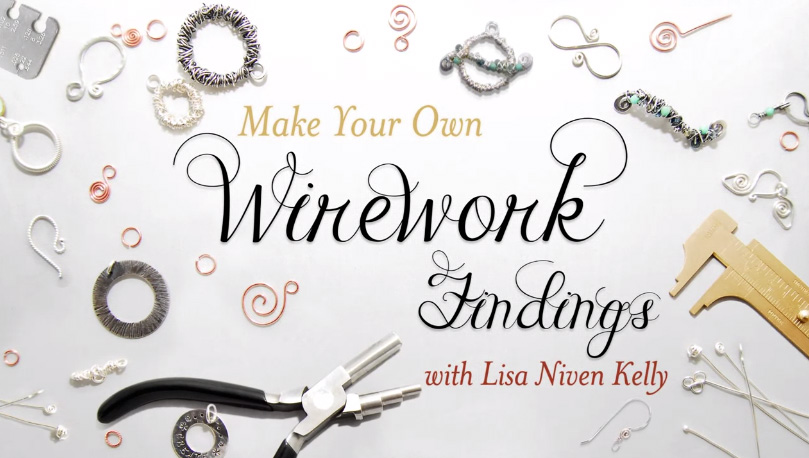
Check it out, if you want to go beyond the basics.

Or, just make a start by trying these paddled headpins. 🙂 If you like, continue on to the matching Crystal Dangles & Roses bracelet . Whatever you do, happy creating!
You can watch the Hammered Paddle Headpin Earrings Video Tutorial over at YouTube.
Materials:
- 2 12mm ceramic beads
- 4 4mm Swarovski crystal bicone beads
- 4 3mm silver plated round beads
- 2 silver plated ear wires
- 8 inches 20 gauge silver filled wire
Tools:
- bench block
- chasing hammer (round faced)
- file
- flush cut wire cutters
- round nose pliers
- chain nose pliers
Instructions:
- Leaving wire on the spool,use flush cut wire cutters to make a straight cut across the end of the wire.
- Lay last 1/4-inch of wire over bench block and tap lightly with chasing hammer. Continue tapping until wire has spread out into a paddled shape of desired size. Use a file to refine the shape if necessary.
- Cut wire 4-inches from end of paddle. Repeat to make a matching paddle for other earring.
- Onto each headpin string a 3mm silver bead, 4mm Swarovski crystal bicone, 12mm ceramic bead, 4mm Swarovski crystal bicone and a 3mm silver bead.
- Make a wrapped loop with remaining wire of each headpin: Use chain nose pliers to grasp wire just at point where it exits last bead. Bend wire at 90° angle. Grasp bend with round nose pliers and wrap wire around pliers as far as possible to start to make a loop. Reposition pliers to finish loop. Close loop and hold with chain nose pliers. Use another pair of chain nose to wrap remaining wire around wire below 90° bend. Use wire cutters to trim excess wire and use chain nose pliers to tuck in end.
- Use chain nose pliers to open loops of ear wires and insert a wrapped loop into each. Close ear wire loops securely.

You make it look so easy!! Also, you have the coolest tools.
In this case, it truly IS easy. The trick is to make the clean cut on the wire before hammering.
And, yes, I love all my cool tools and am always on the look out for the next new gadget. 🙂