


Have you ever used a wire jig? Maybe you thought it looked scary or complicated? Actually, it’s a fun tool and a great way to get creative with wire with consistent results.
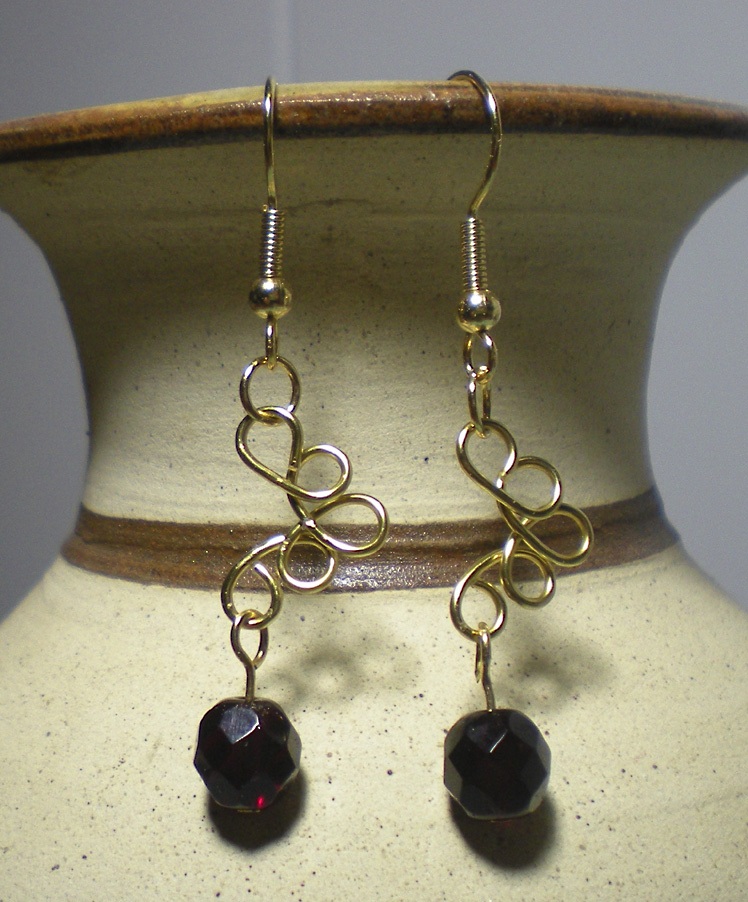
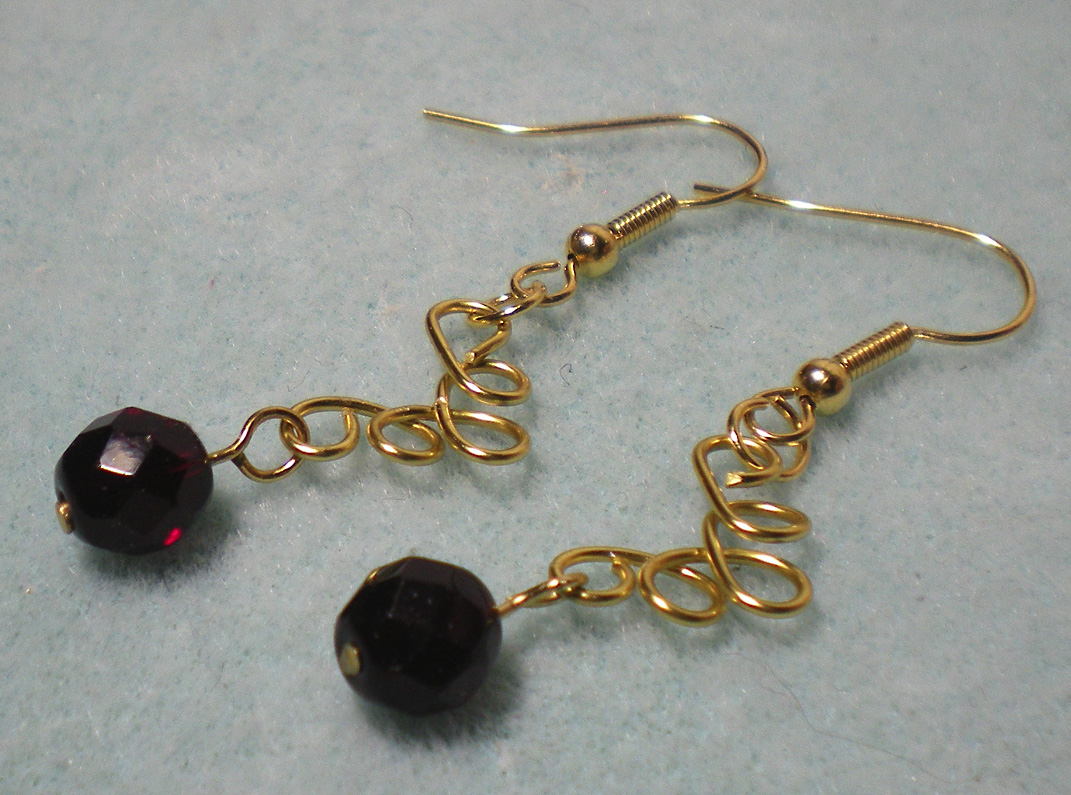
In the video below I show you how quick and easy it is to make these cute earrings.
For tool and materials you’ll need:
- 2 ear wires
- 2 jump rings
- 2 head pins
- 2 small/medium beads
- 2 4-inch pieces 20 gauge wire
- 2 pair chain nose pliers
- Round nose pliers
- Wire cutters
- Wire jig tool such as the Thing A Ma Jig
or the Beadalon Jewelry Jig
If you want to make a matching bracelet or necklace, just make more loopy components. Instead of putting the beads on head pins, put them on eye pins so you have a loop at each end to connect. Add clasps and you have a set.
Happy Creating!

Those are so sweet! You make me want to TRY, at least. 🙂
YES! I’m gonna hold you to that…
Yeah, but it’s going to have to wait till next month. I’m maxed out for June, already. It’s still June, right?
Yup, we just hit the halfway mark of June. Happy… whatever it is you’re doing. 🙂