


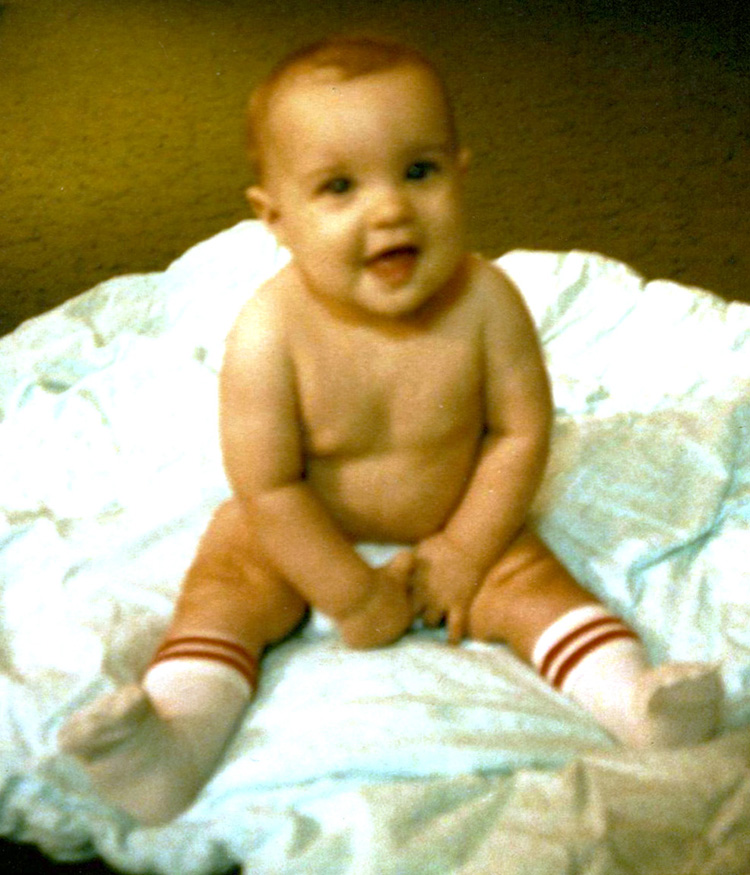
I’ve been going through my photos from 1988, these are the baby pictures of my first son. (Boy, I wish I knew then what I know about photography and what kinds of pics I’d want to have for keepsakes. Ah, well.)
Here’s a great example of a photo that’s desperately in need of rescuing. Cute baby, adorable smile, great pose . . . and awful photography:
What to do? If you have Adobe Photoshop or Adobe Photoshop Elements
, you can make lemonade from this lemon by using filters.
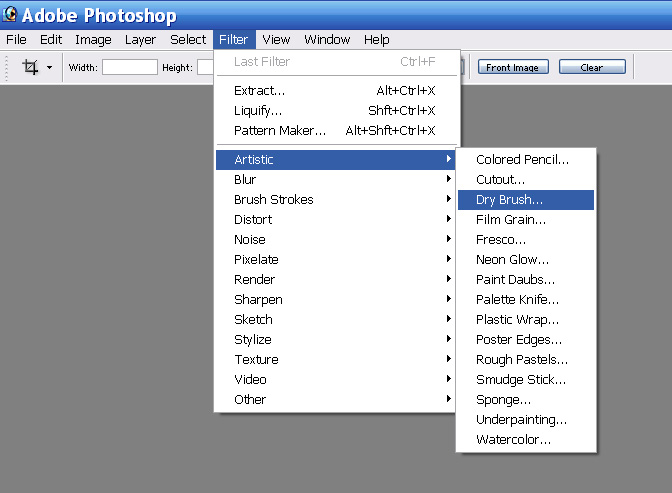
I used the artistic dry brush filter to make this photo look like a painted portrait. Click on Filter>Artistic>Dry Brush.
As you can see, there are many other possibilities to choose from. I recommend you try them all. Different filters will work better with different types of photos.
Once you choose a filter, you can also play with the settings to get just the look you want. I used a Brush Size of 2, Brush Detail of 8 and a Texture setting of 1. It defaults to a preview at 100% and you can move the photo around in the little window to look at different areas.

And here’s my final result. I think it looks like we had a portrait painted of our little guy, a vast improvement over the grainy pic I began with.
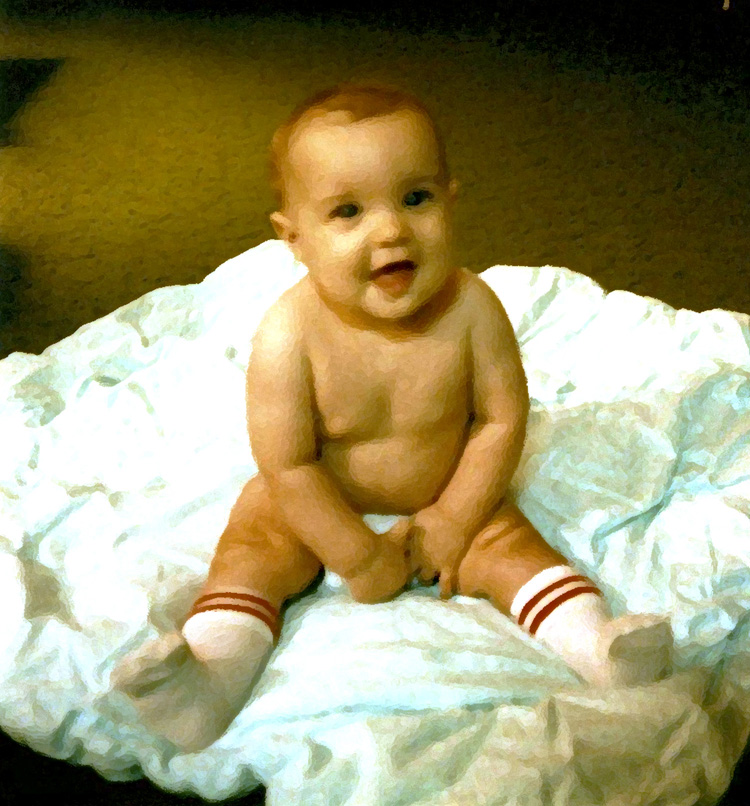
It looks even better printed out, in fact I think I might get it printed on canvas to make it look more like a painting.
I’d love to hear from all of you about your favorite ways to rescue bad photos.
Have a great weekend!
Sandy

2 thoughts on “How To Rescue A Bad Photo”